Outdoor Camera Hood Project
by ZephyFoxy~
Intro
I got some wireless cameras to monitor the outside of my home, and they have to be mounted in a place that at least shields them from direct rain, as they are not 100% water-proof.
There was nowhere on the house facing the backyard that was suitable for mounting. There were plenty of overhangs to shield the camera, but nothing to mount to that was sturdy enough.
I set my sights on the pull-up bar. It’s got a nice vantage point, is within WiFi range, and is large enough to fit the camera. The only problem was the lack of overhead protection.
My first thought was to find some spare piece of wood and nail it in place. But then I remembered that I have 3D printers, and I have been teaching myself CAD to make my own parts. So I got to work making a protective cover for my camera!
Designing the part
I recently started to learn CAD using Onshape’s browser-based CAD software. I chose this as it appeared to be very user-friendly, and having it run in the browser means two things:
- Your CPU/GPU aren’t doing the work here, just rendering the graphics in the browser while Onshape’s cloud does hte heavy lifting.
- Your OS doesn’t matter, so you can run this from anything without worrying about compatibility.
Point 2 stood out to me the most, as I am on Linux and wanted something I could run that is also reliable. There are plenty of free CAD applications for Linux, but I was ultimately drawn to the apparent beginner-friendliness.
I got started with this YouTube series that serves as an introduction to Onshape and designing 3D parts specifically for 3D printing.
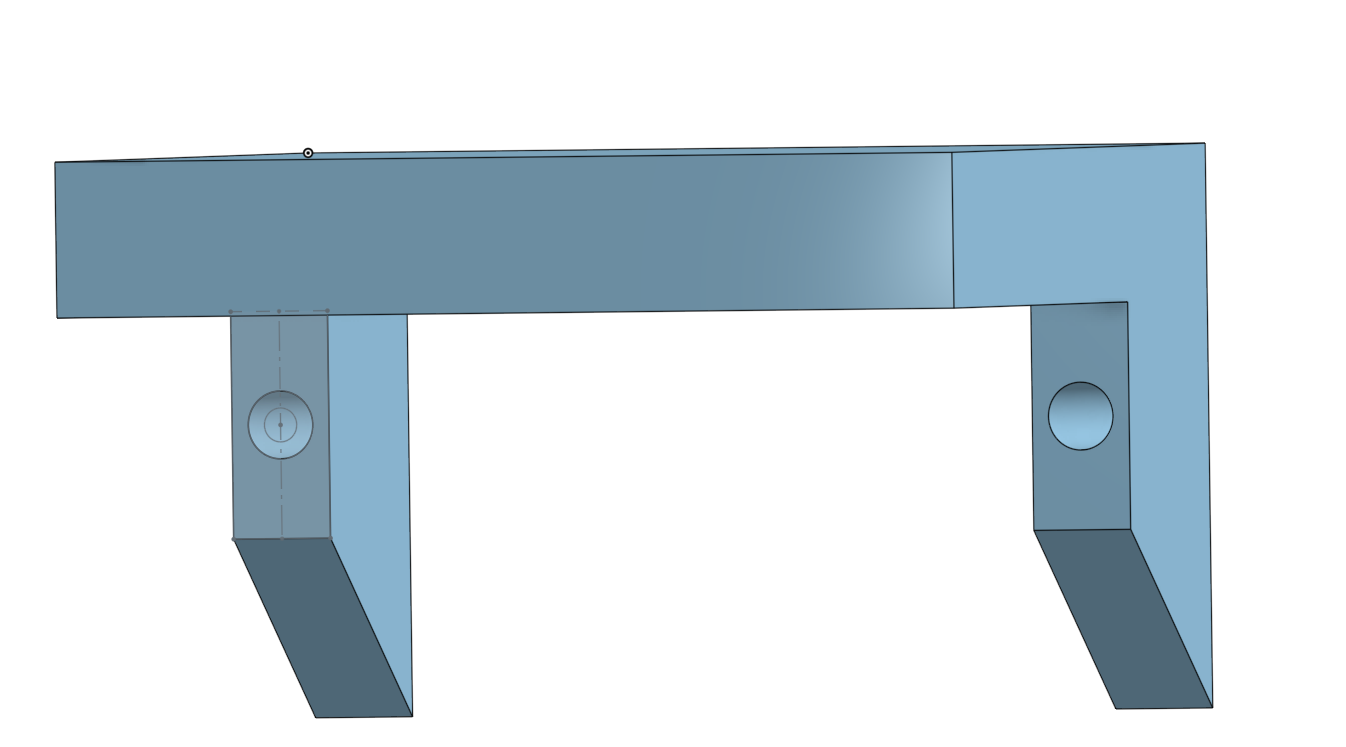
After breaking out my new digital caliper and taking some measurements, I logged into Onshape and got to designing. I started with some very basic geometry and got the base form worked out.
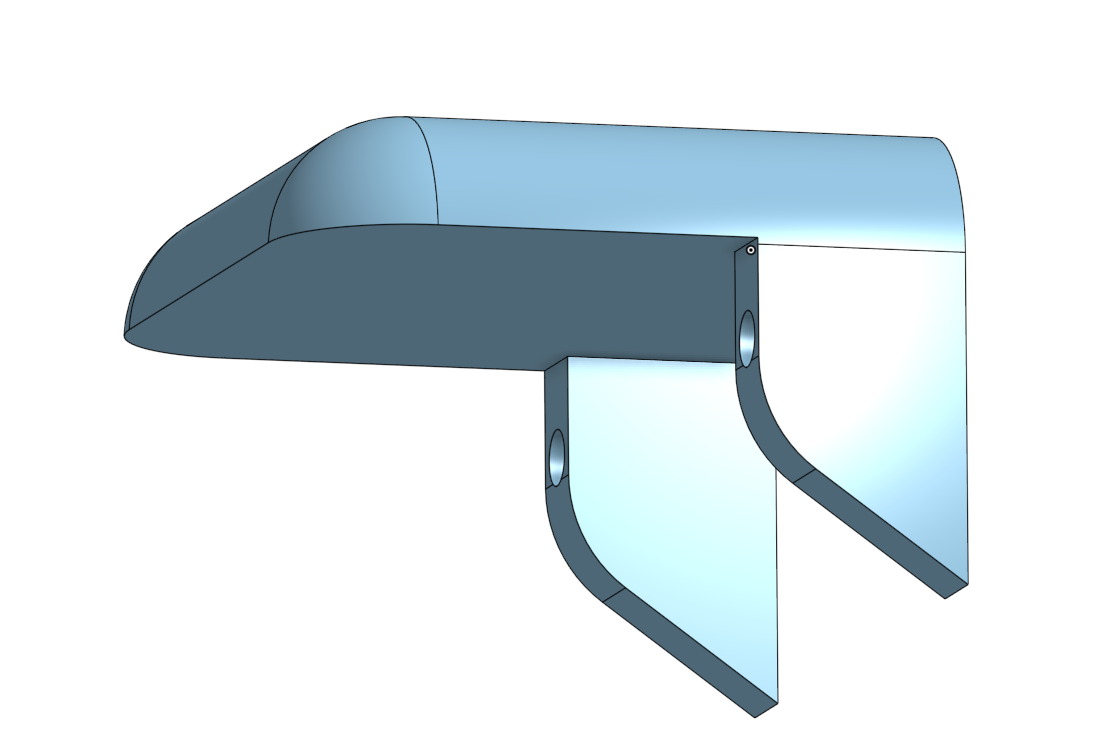
A few fillets later, and I have a more polished looking design:
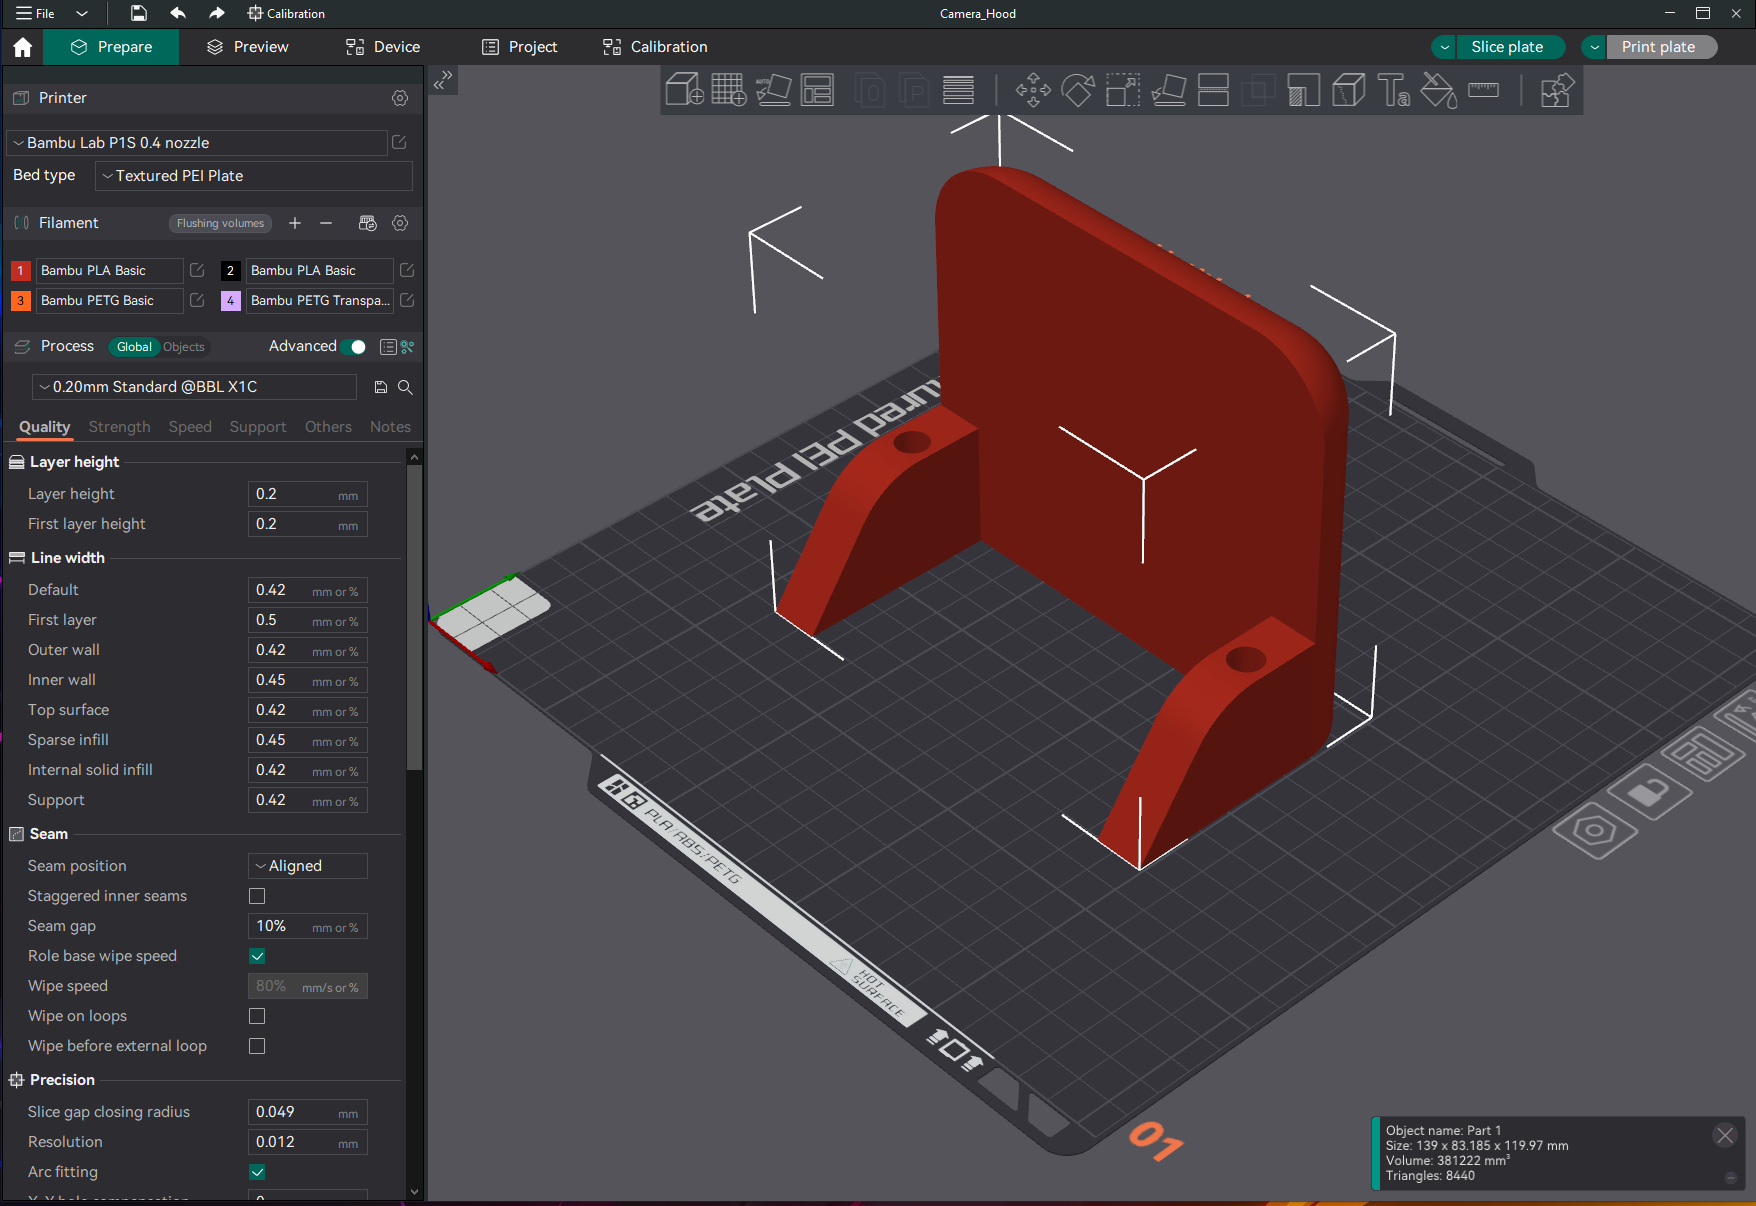
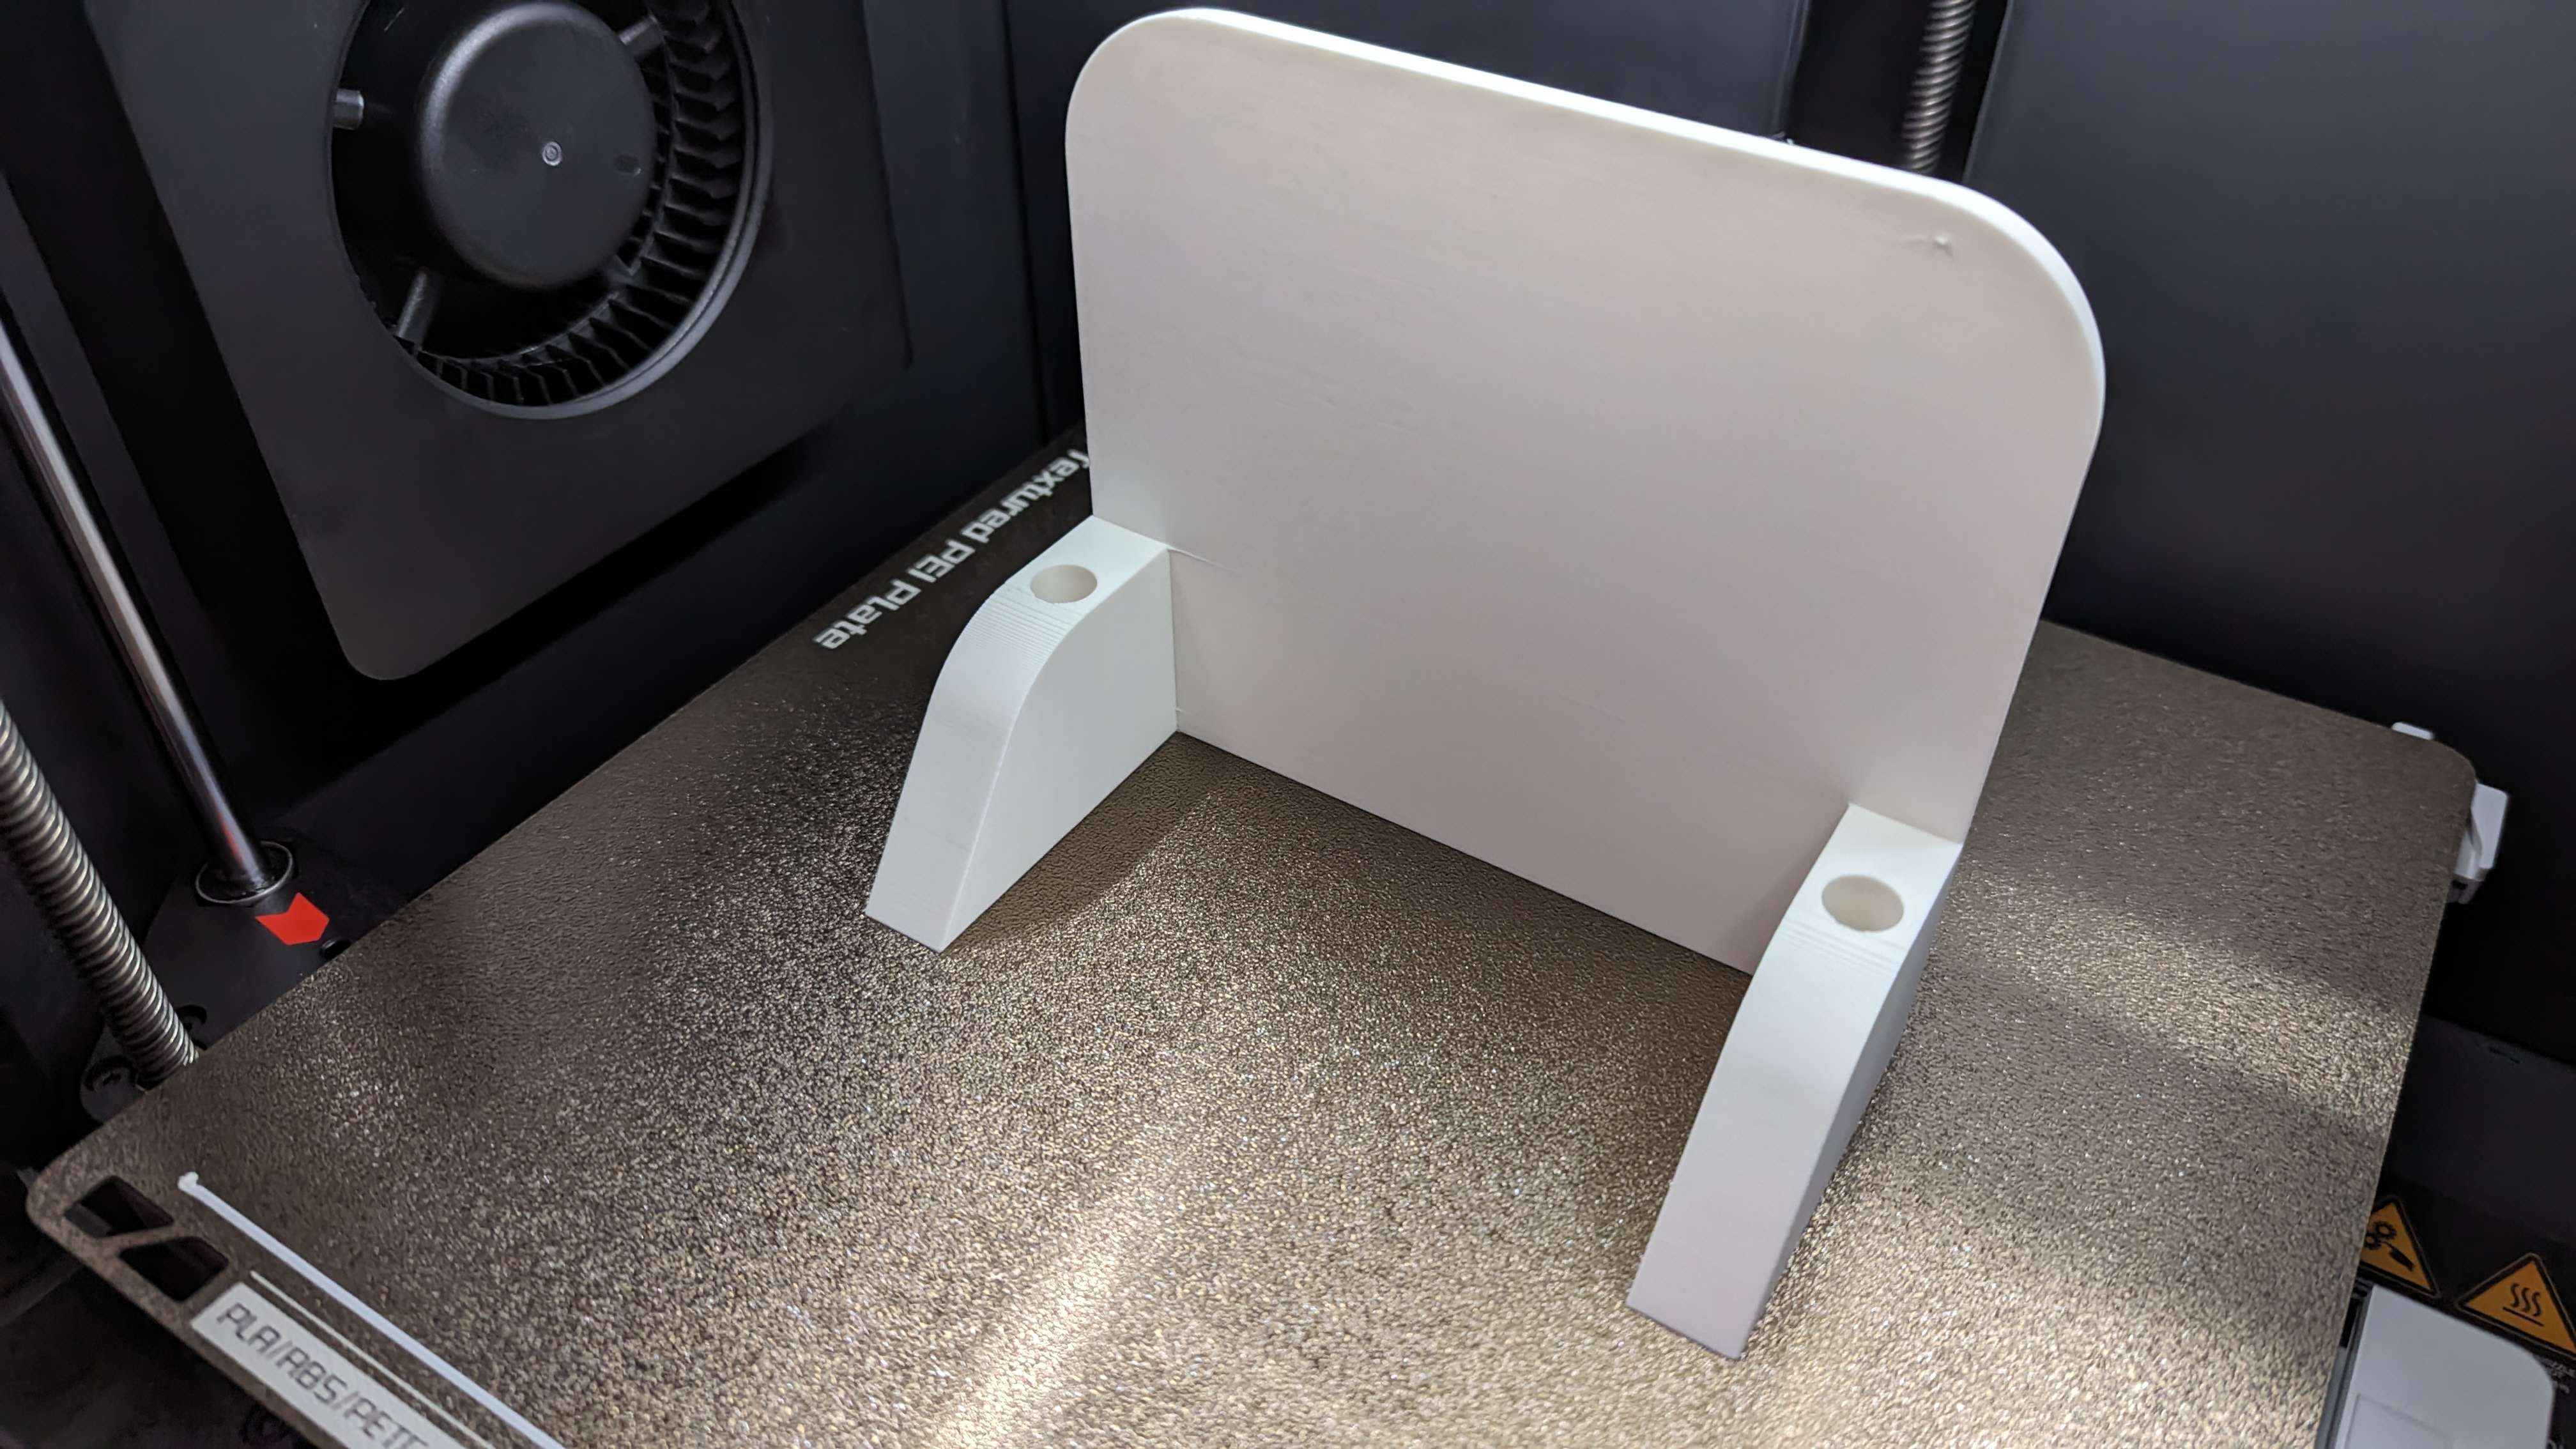
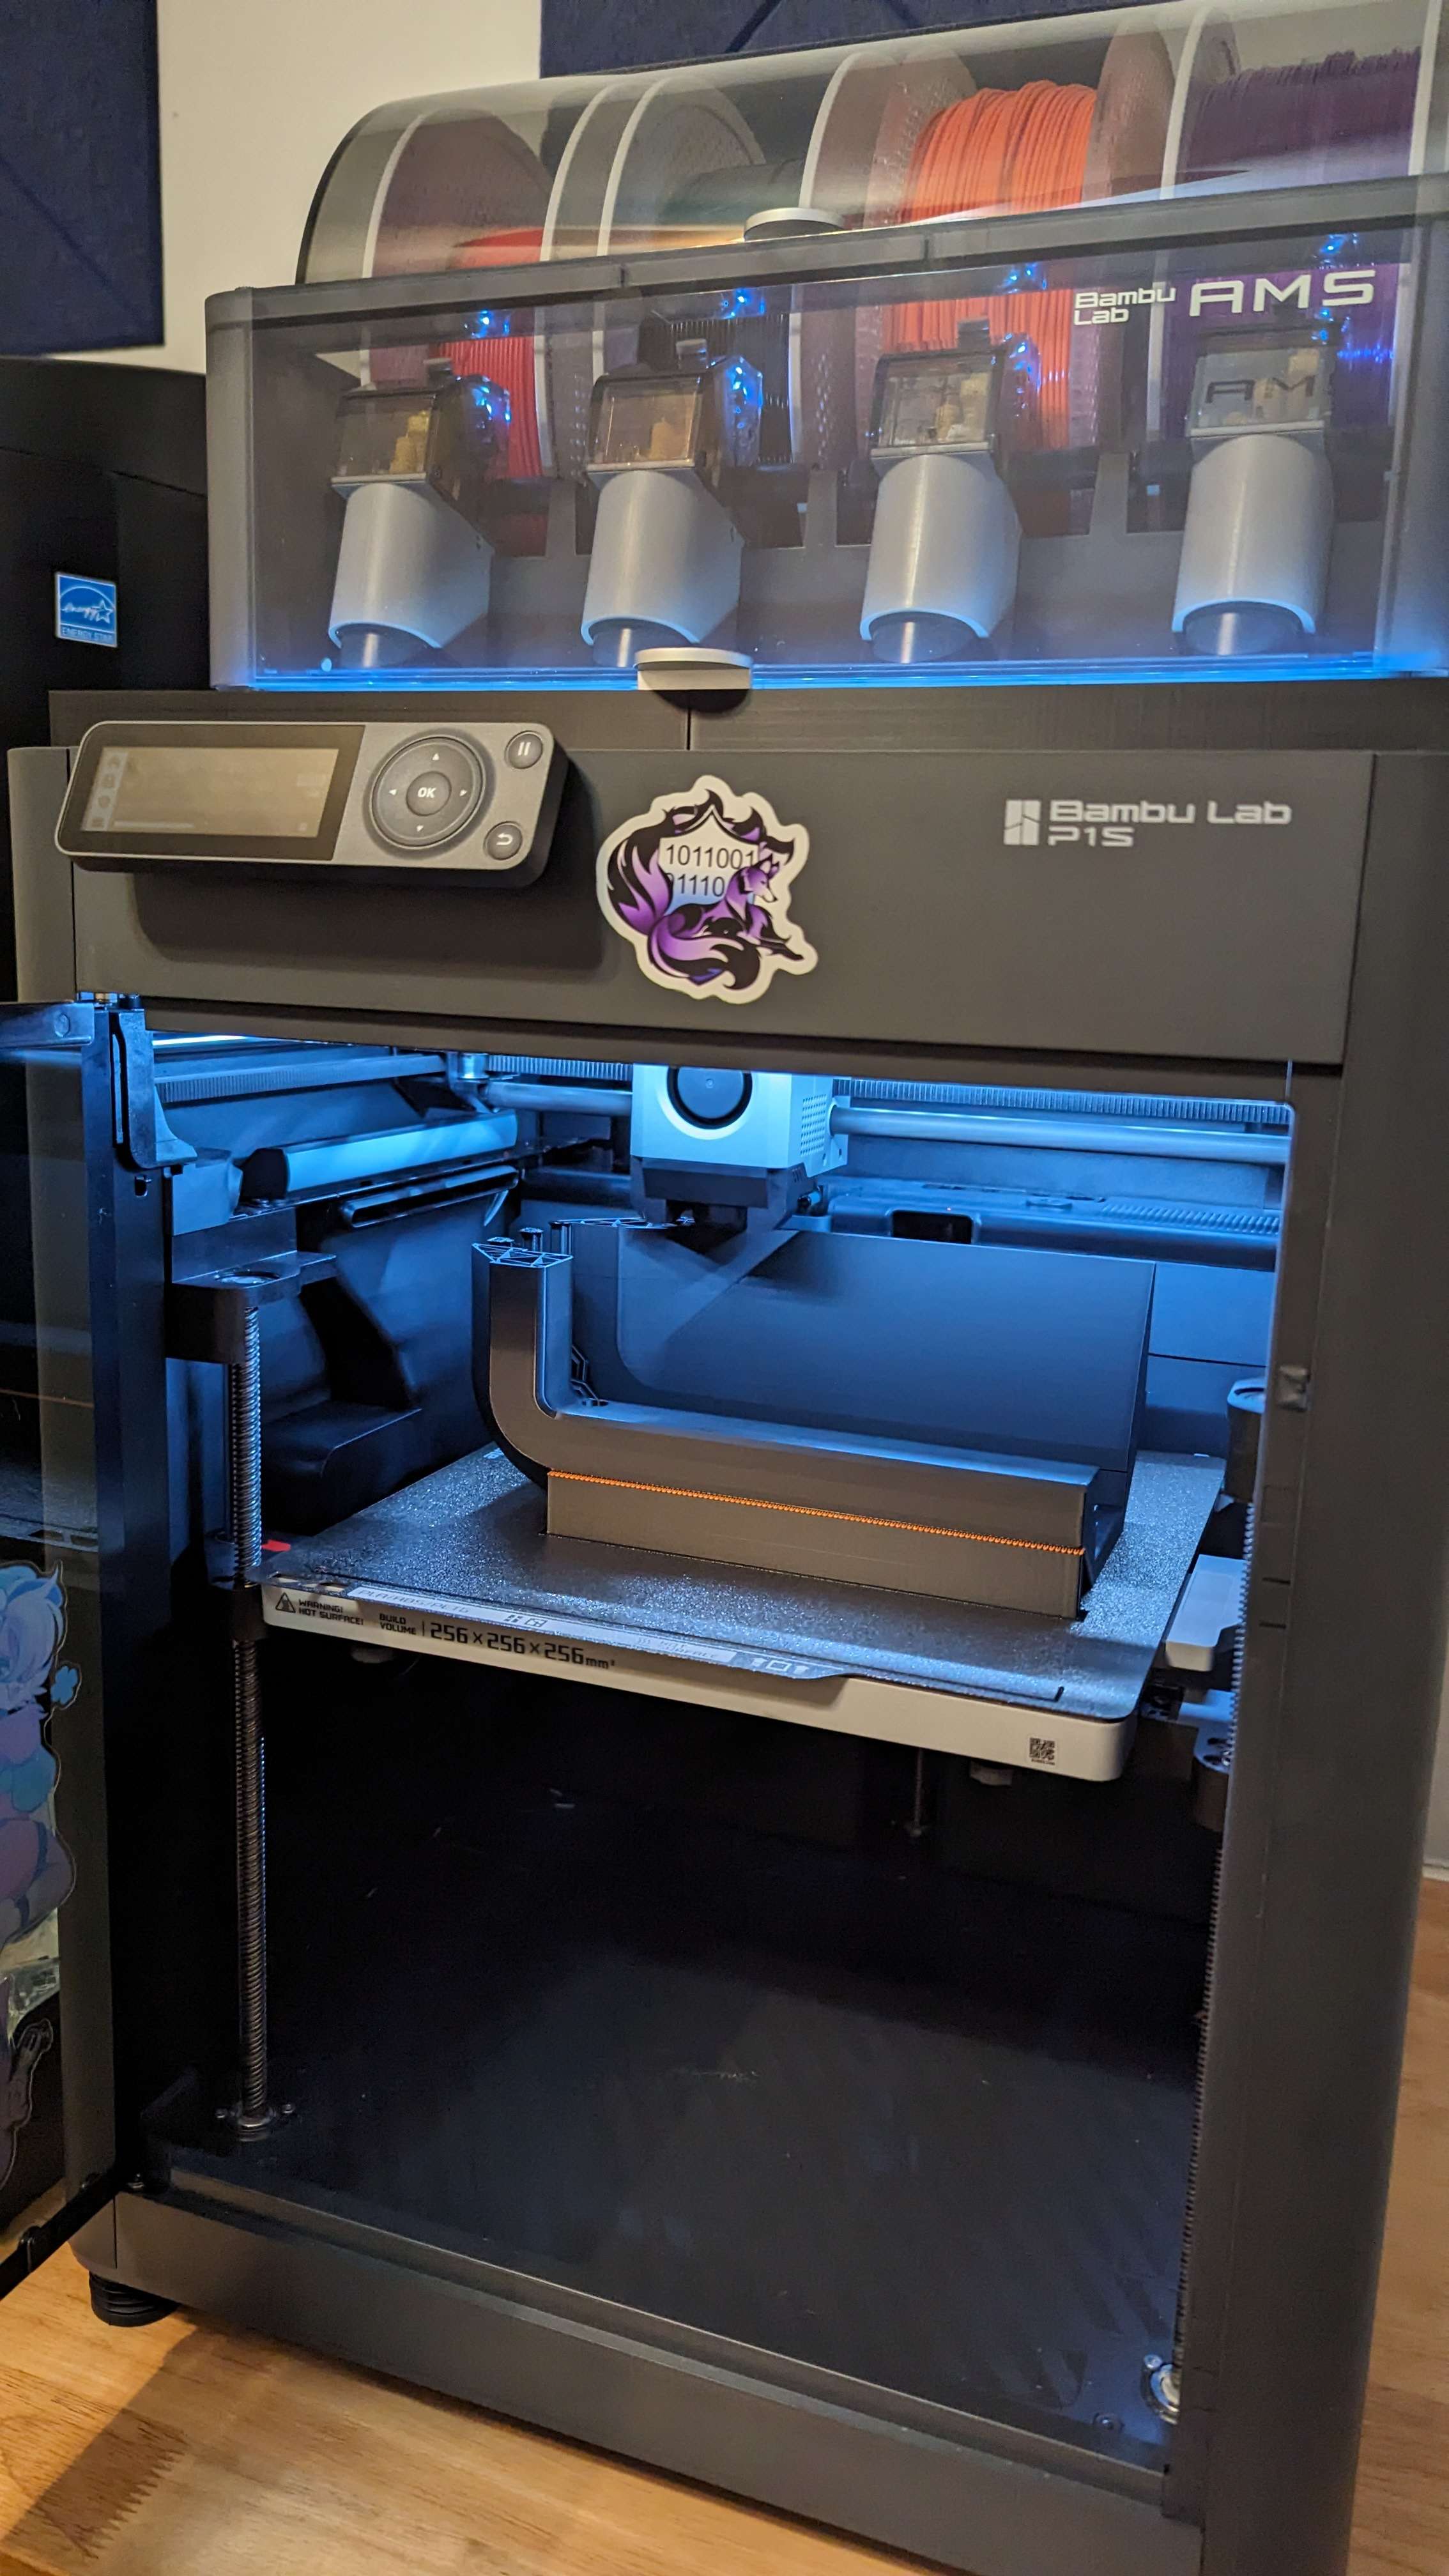
After that, I exported the model as a 3MF file and imported it into Bambu Studio:
About 2 hours later, I had a printed part:
Post-processing
In order to make sure the part lasts as long as possible, extra steps need to be taken to strengthen and protect the part, as PLA’s UV resistence isn’t as high as PETG, ABS, and ASA, and it can break down over time.
⚠️⚠️⚠️⚠️⚠️
Important! UV resin fumes are toxic and can make you sick! Wear an appropriate mask or respirator, and open the windows!!!
⚠️⚠️⚠️⚠️⚠️
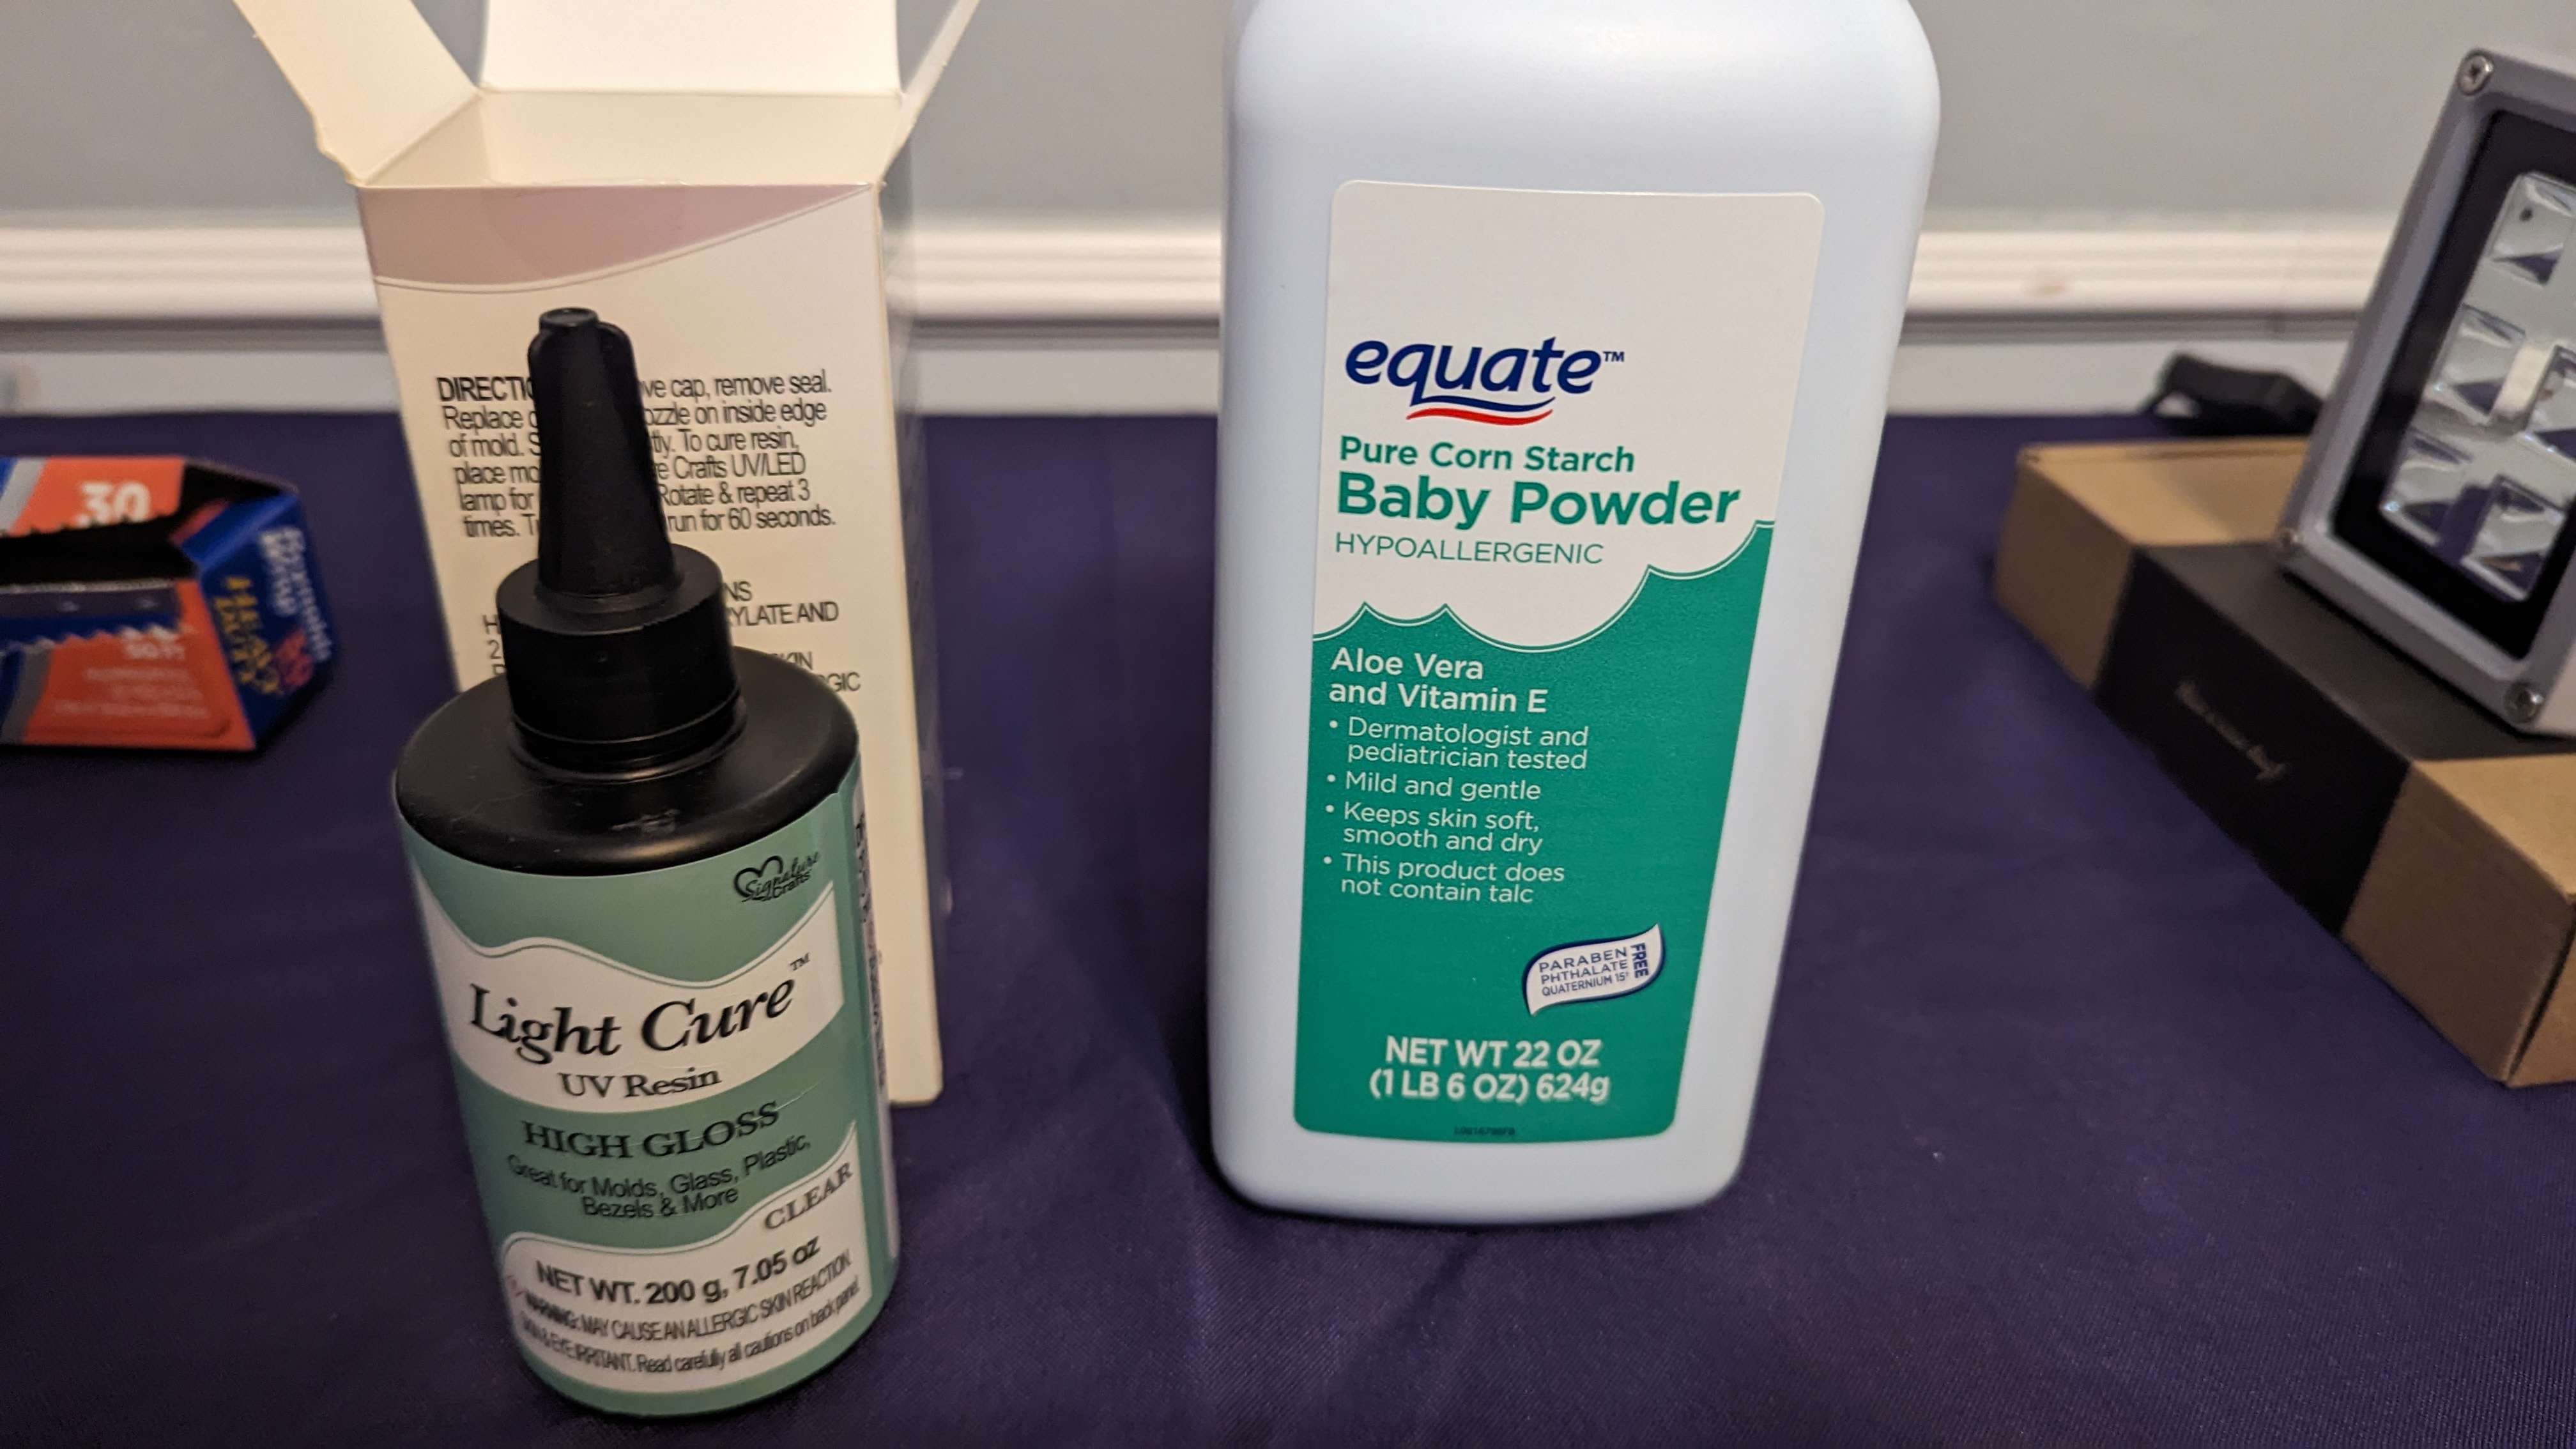
The frst step was to mix some UV resin with babypowder. This makes the resin much thicker so that it doesn’t “run” as much after it’s been painted on. I give it a thin, even coat all over, and set it into my very jank, very hastily-made UV curing box:
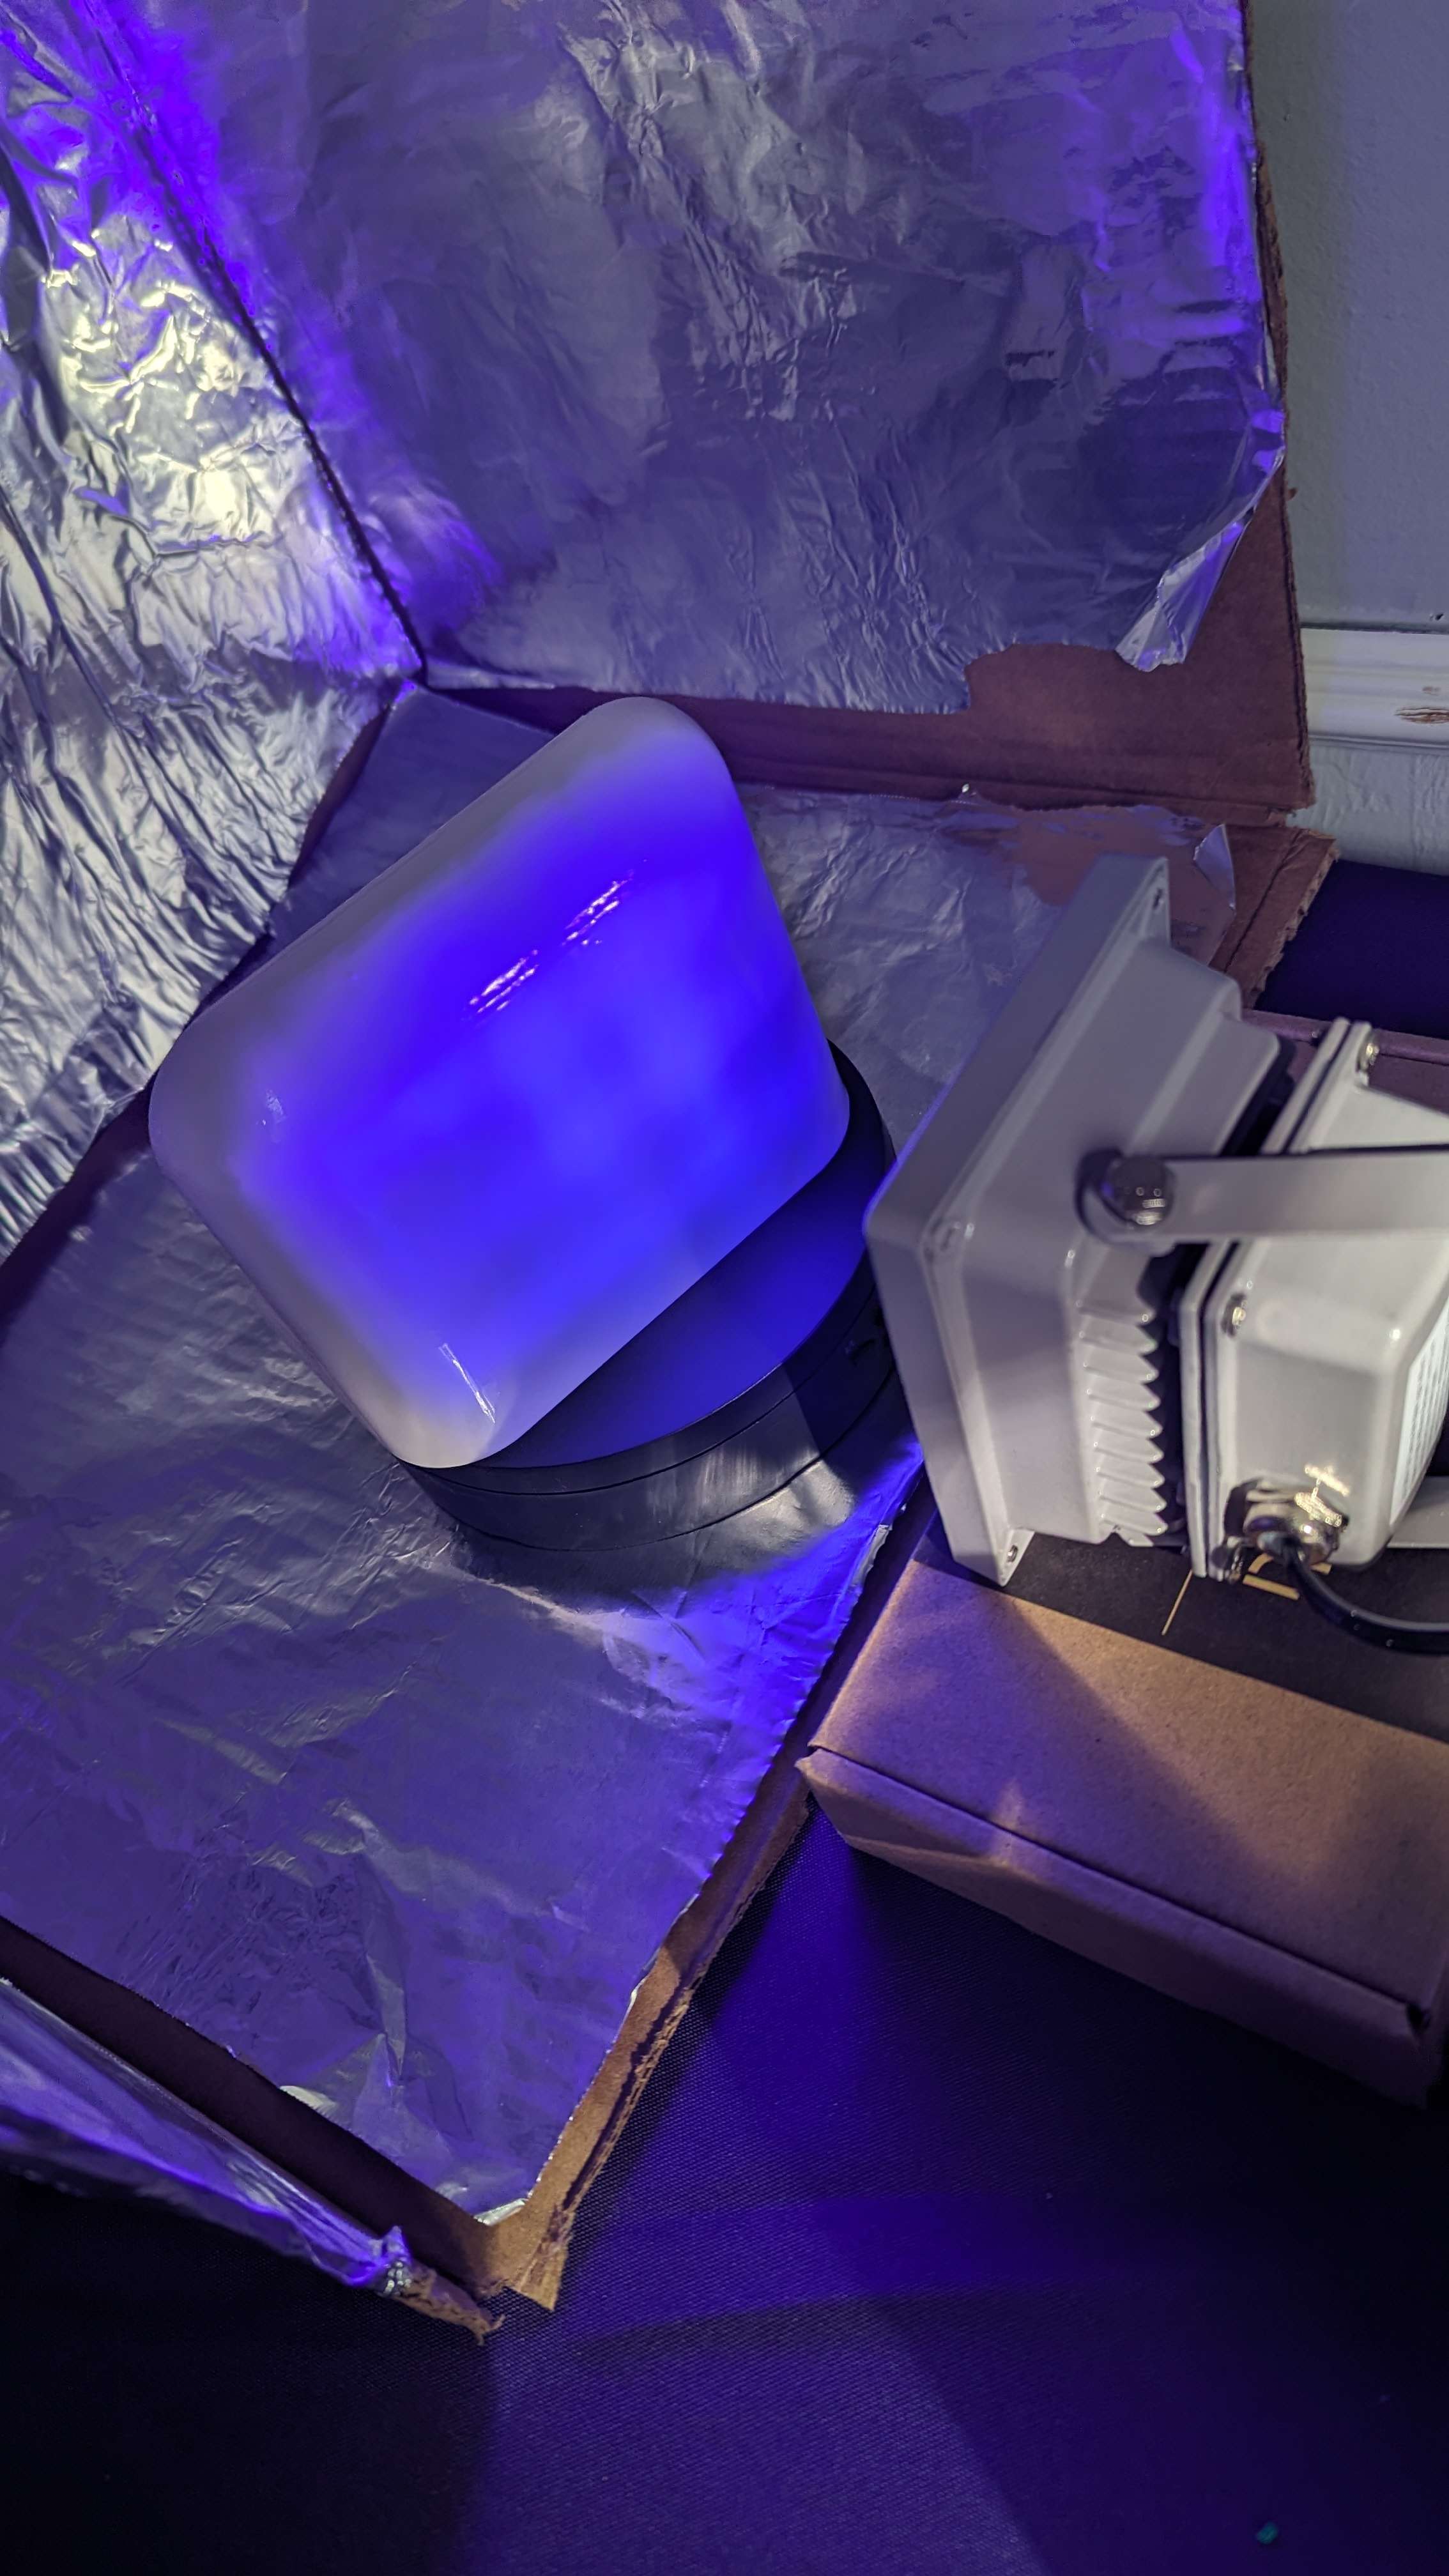
I then wiped the part down with a paper towel with isopropyl alcohol to clean up uncured resin. I lightly sanded it with fine-grit sandpaper, and apply a second coat of resin. It goes back into the UV curing box for 20 minutes, and is left in the sun until it goes down, as the UV from the sun can cure this resin even faster and more thoroughly than UV LEDs.
The next day, I took the part outside and gave it a coat of filler primer, a paint primer that is meant to fill in very minor surface imperfections. I chose this to further fill in the print-lines of the part and give it a more smooth, uniform surface.
The part was sanded with fine-grit sandpaper, and given a second coat:
It was left to fully dry overnight before doing anything else, as it was very cold and humid on that day, and I wanted the primer to be fully dry before painting.
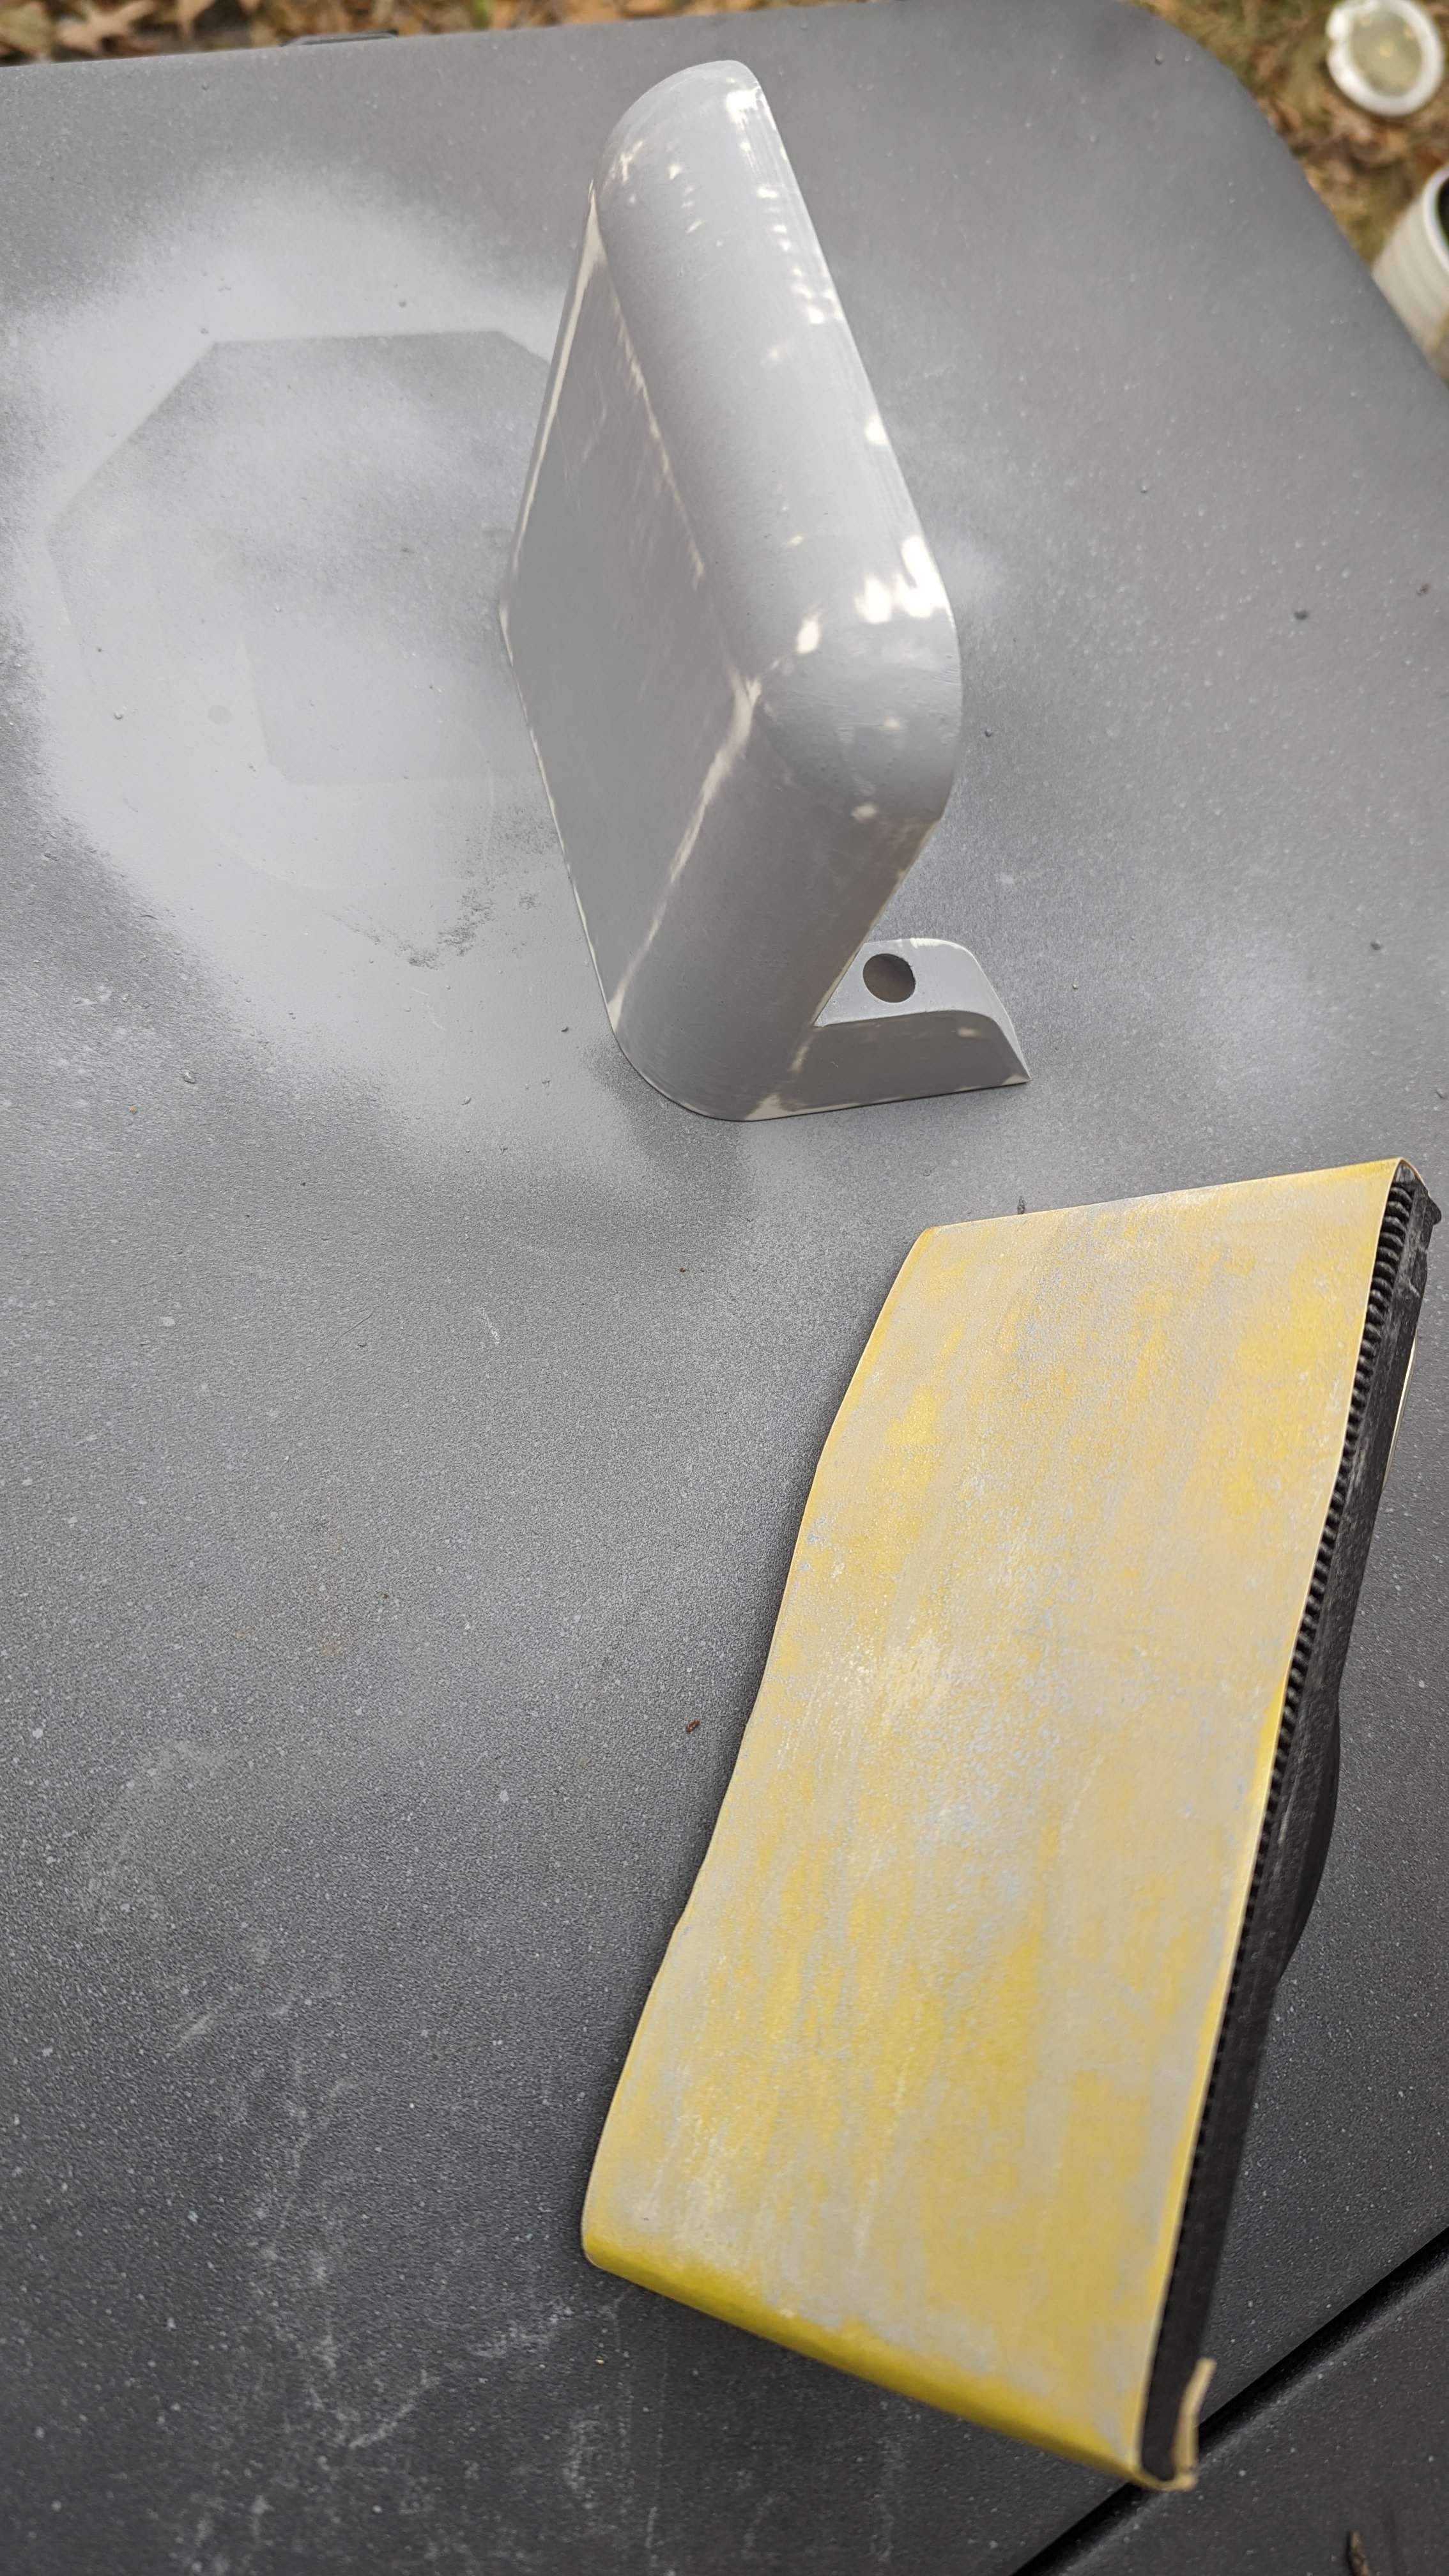
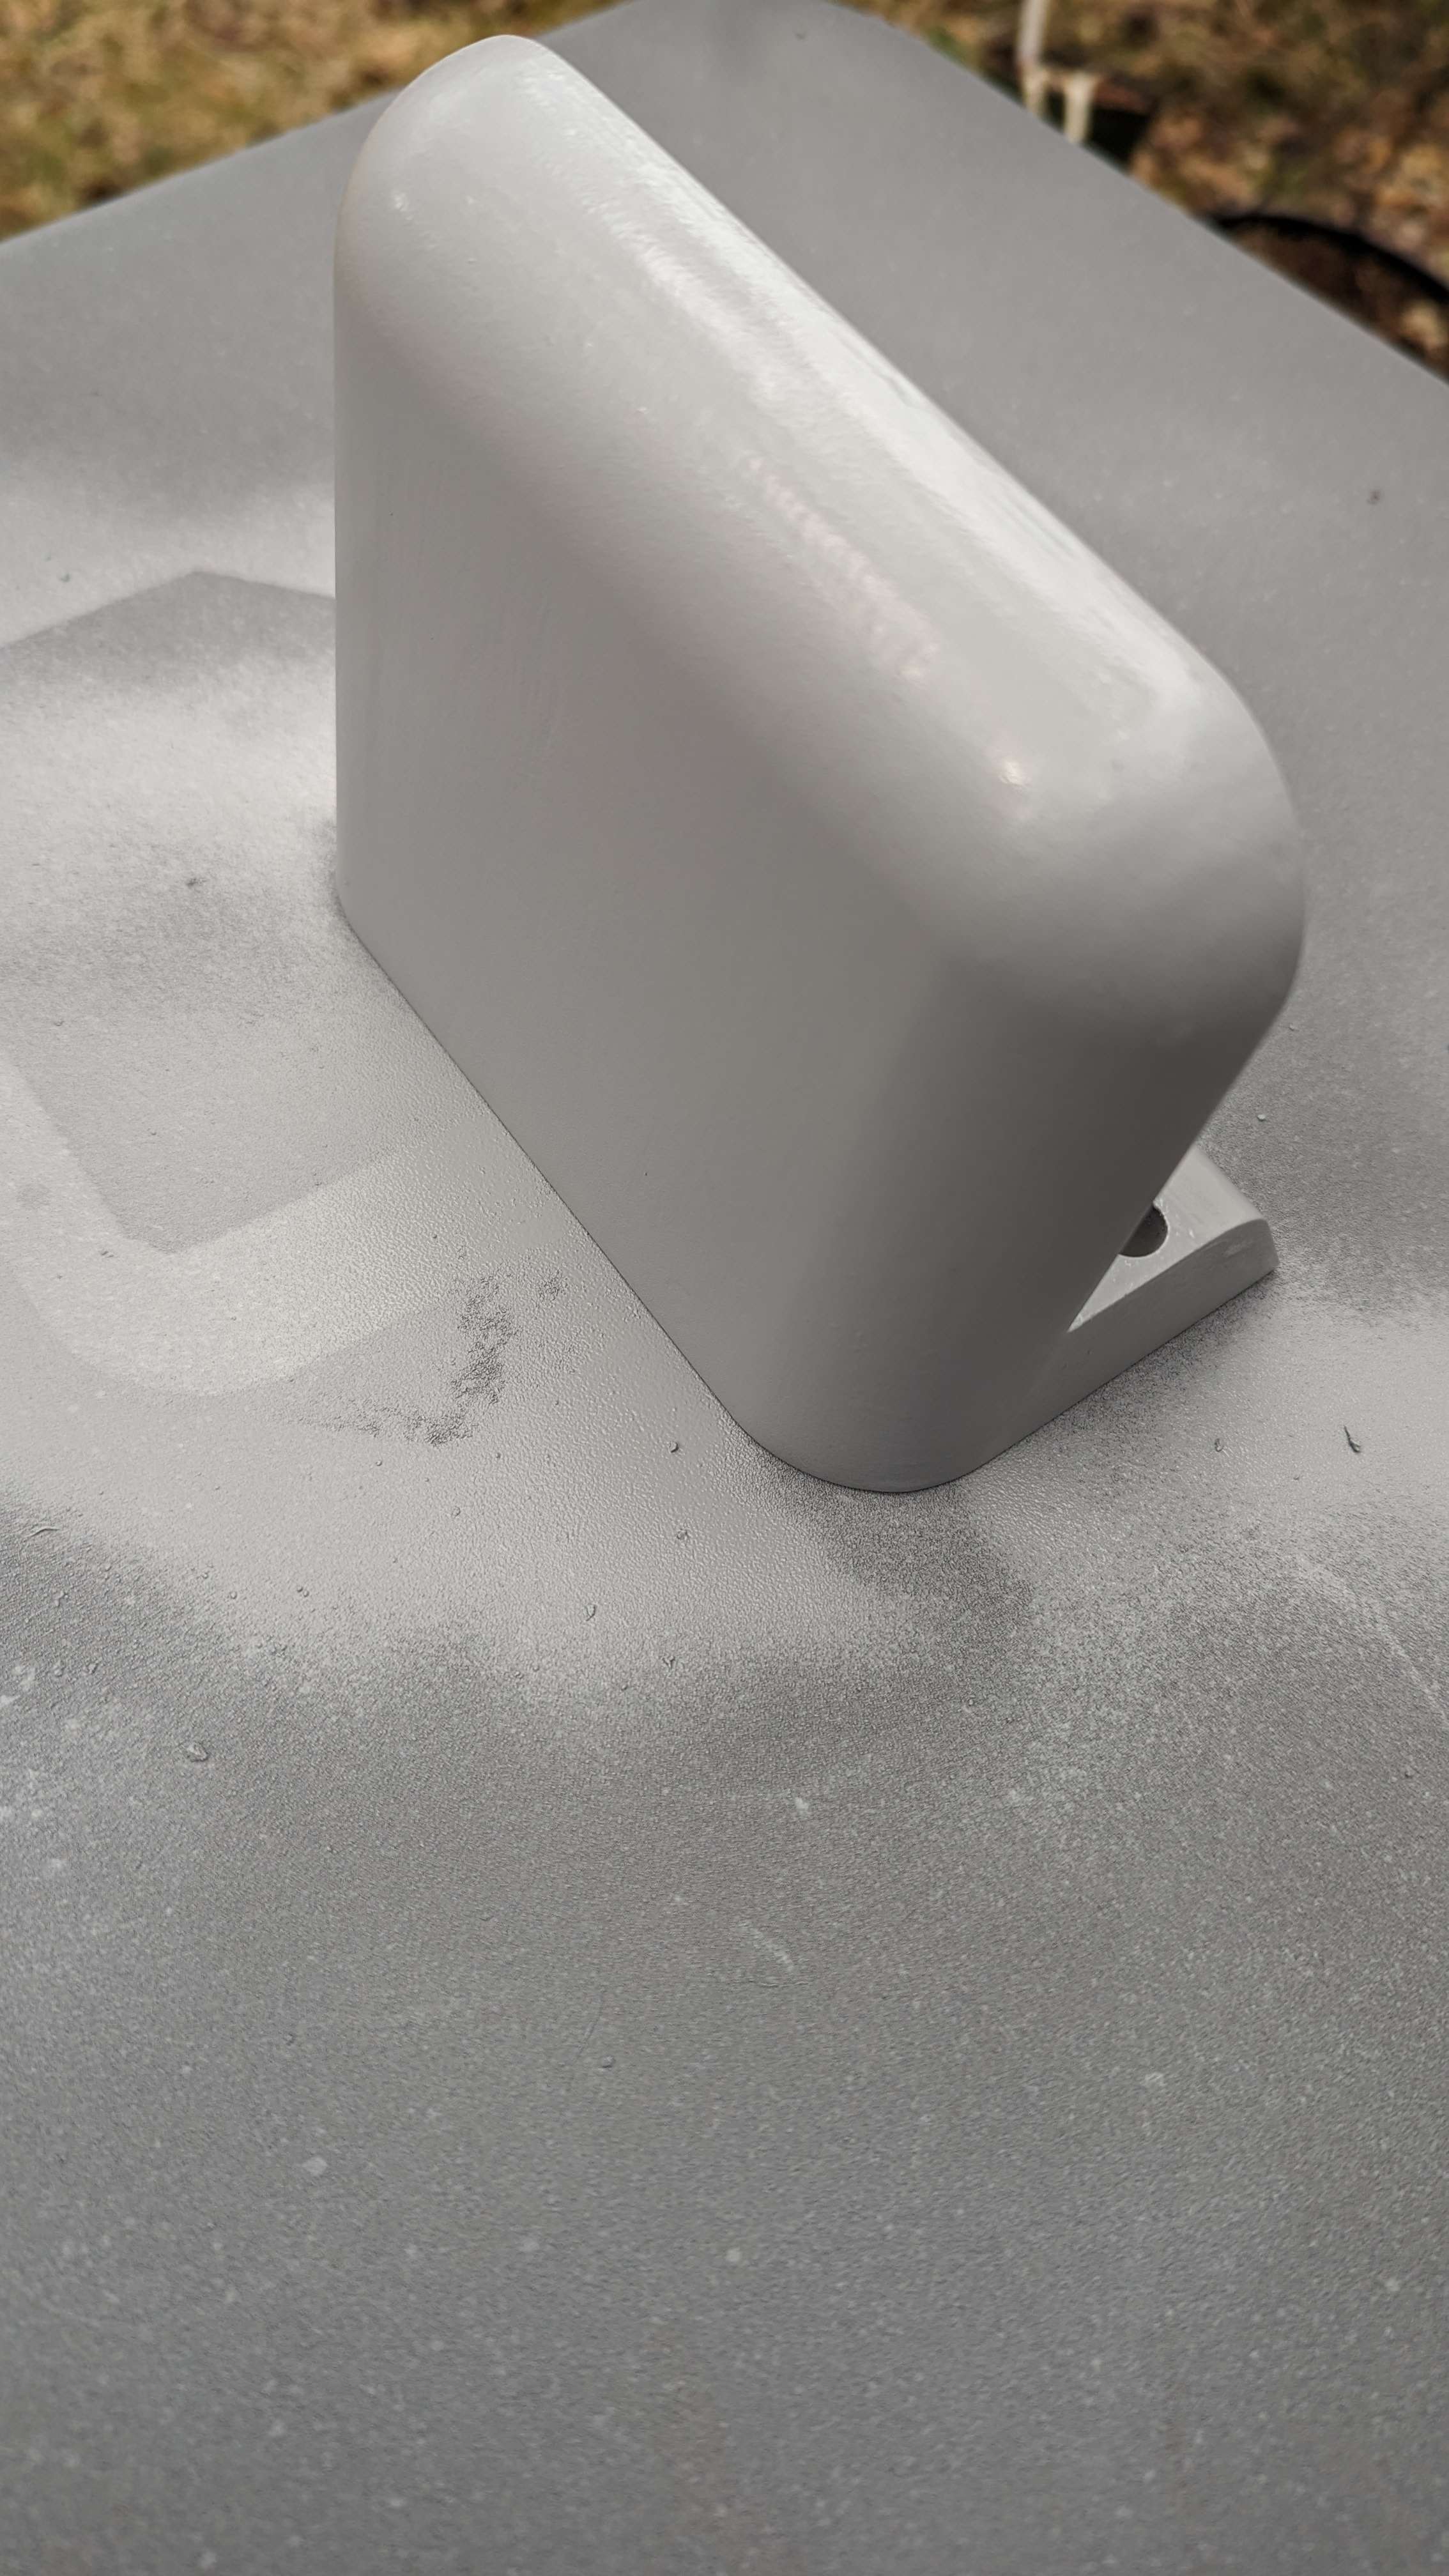
The next step was to apply a coat of white glossy paint, sand it lightly after drying, and applying a second coat:
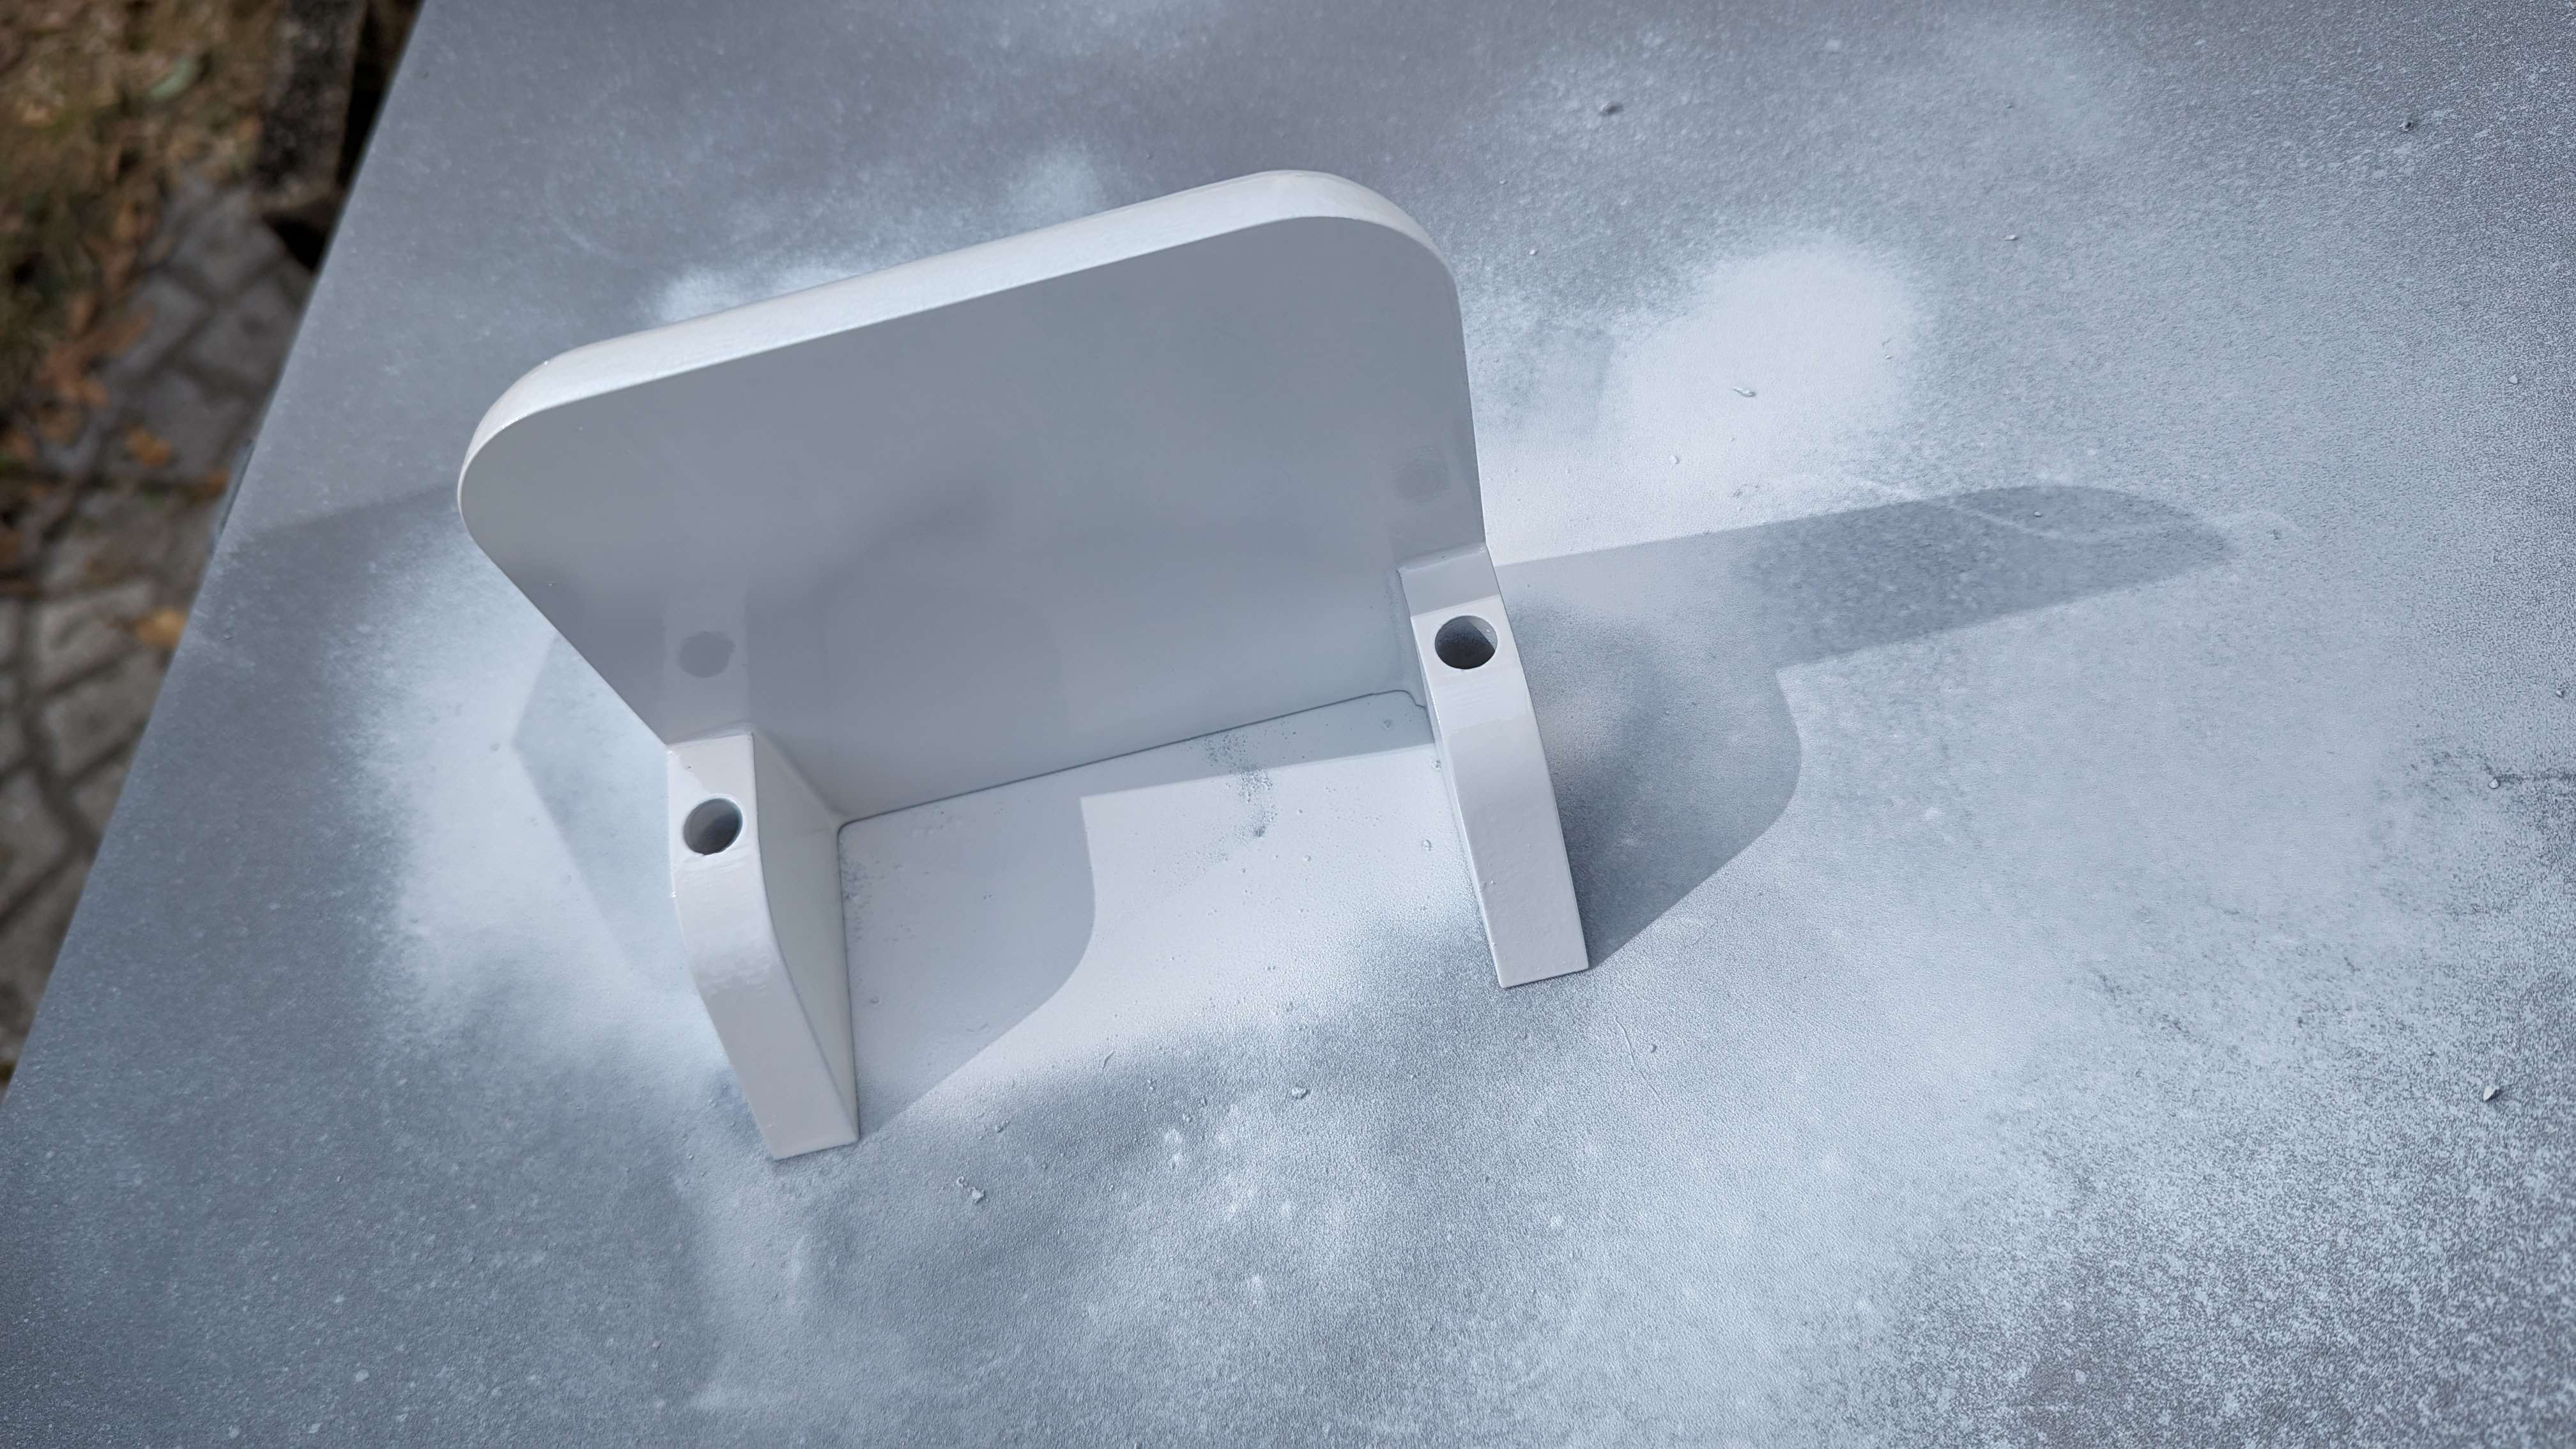
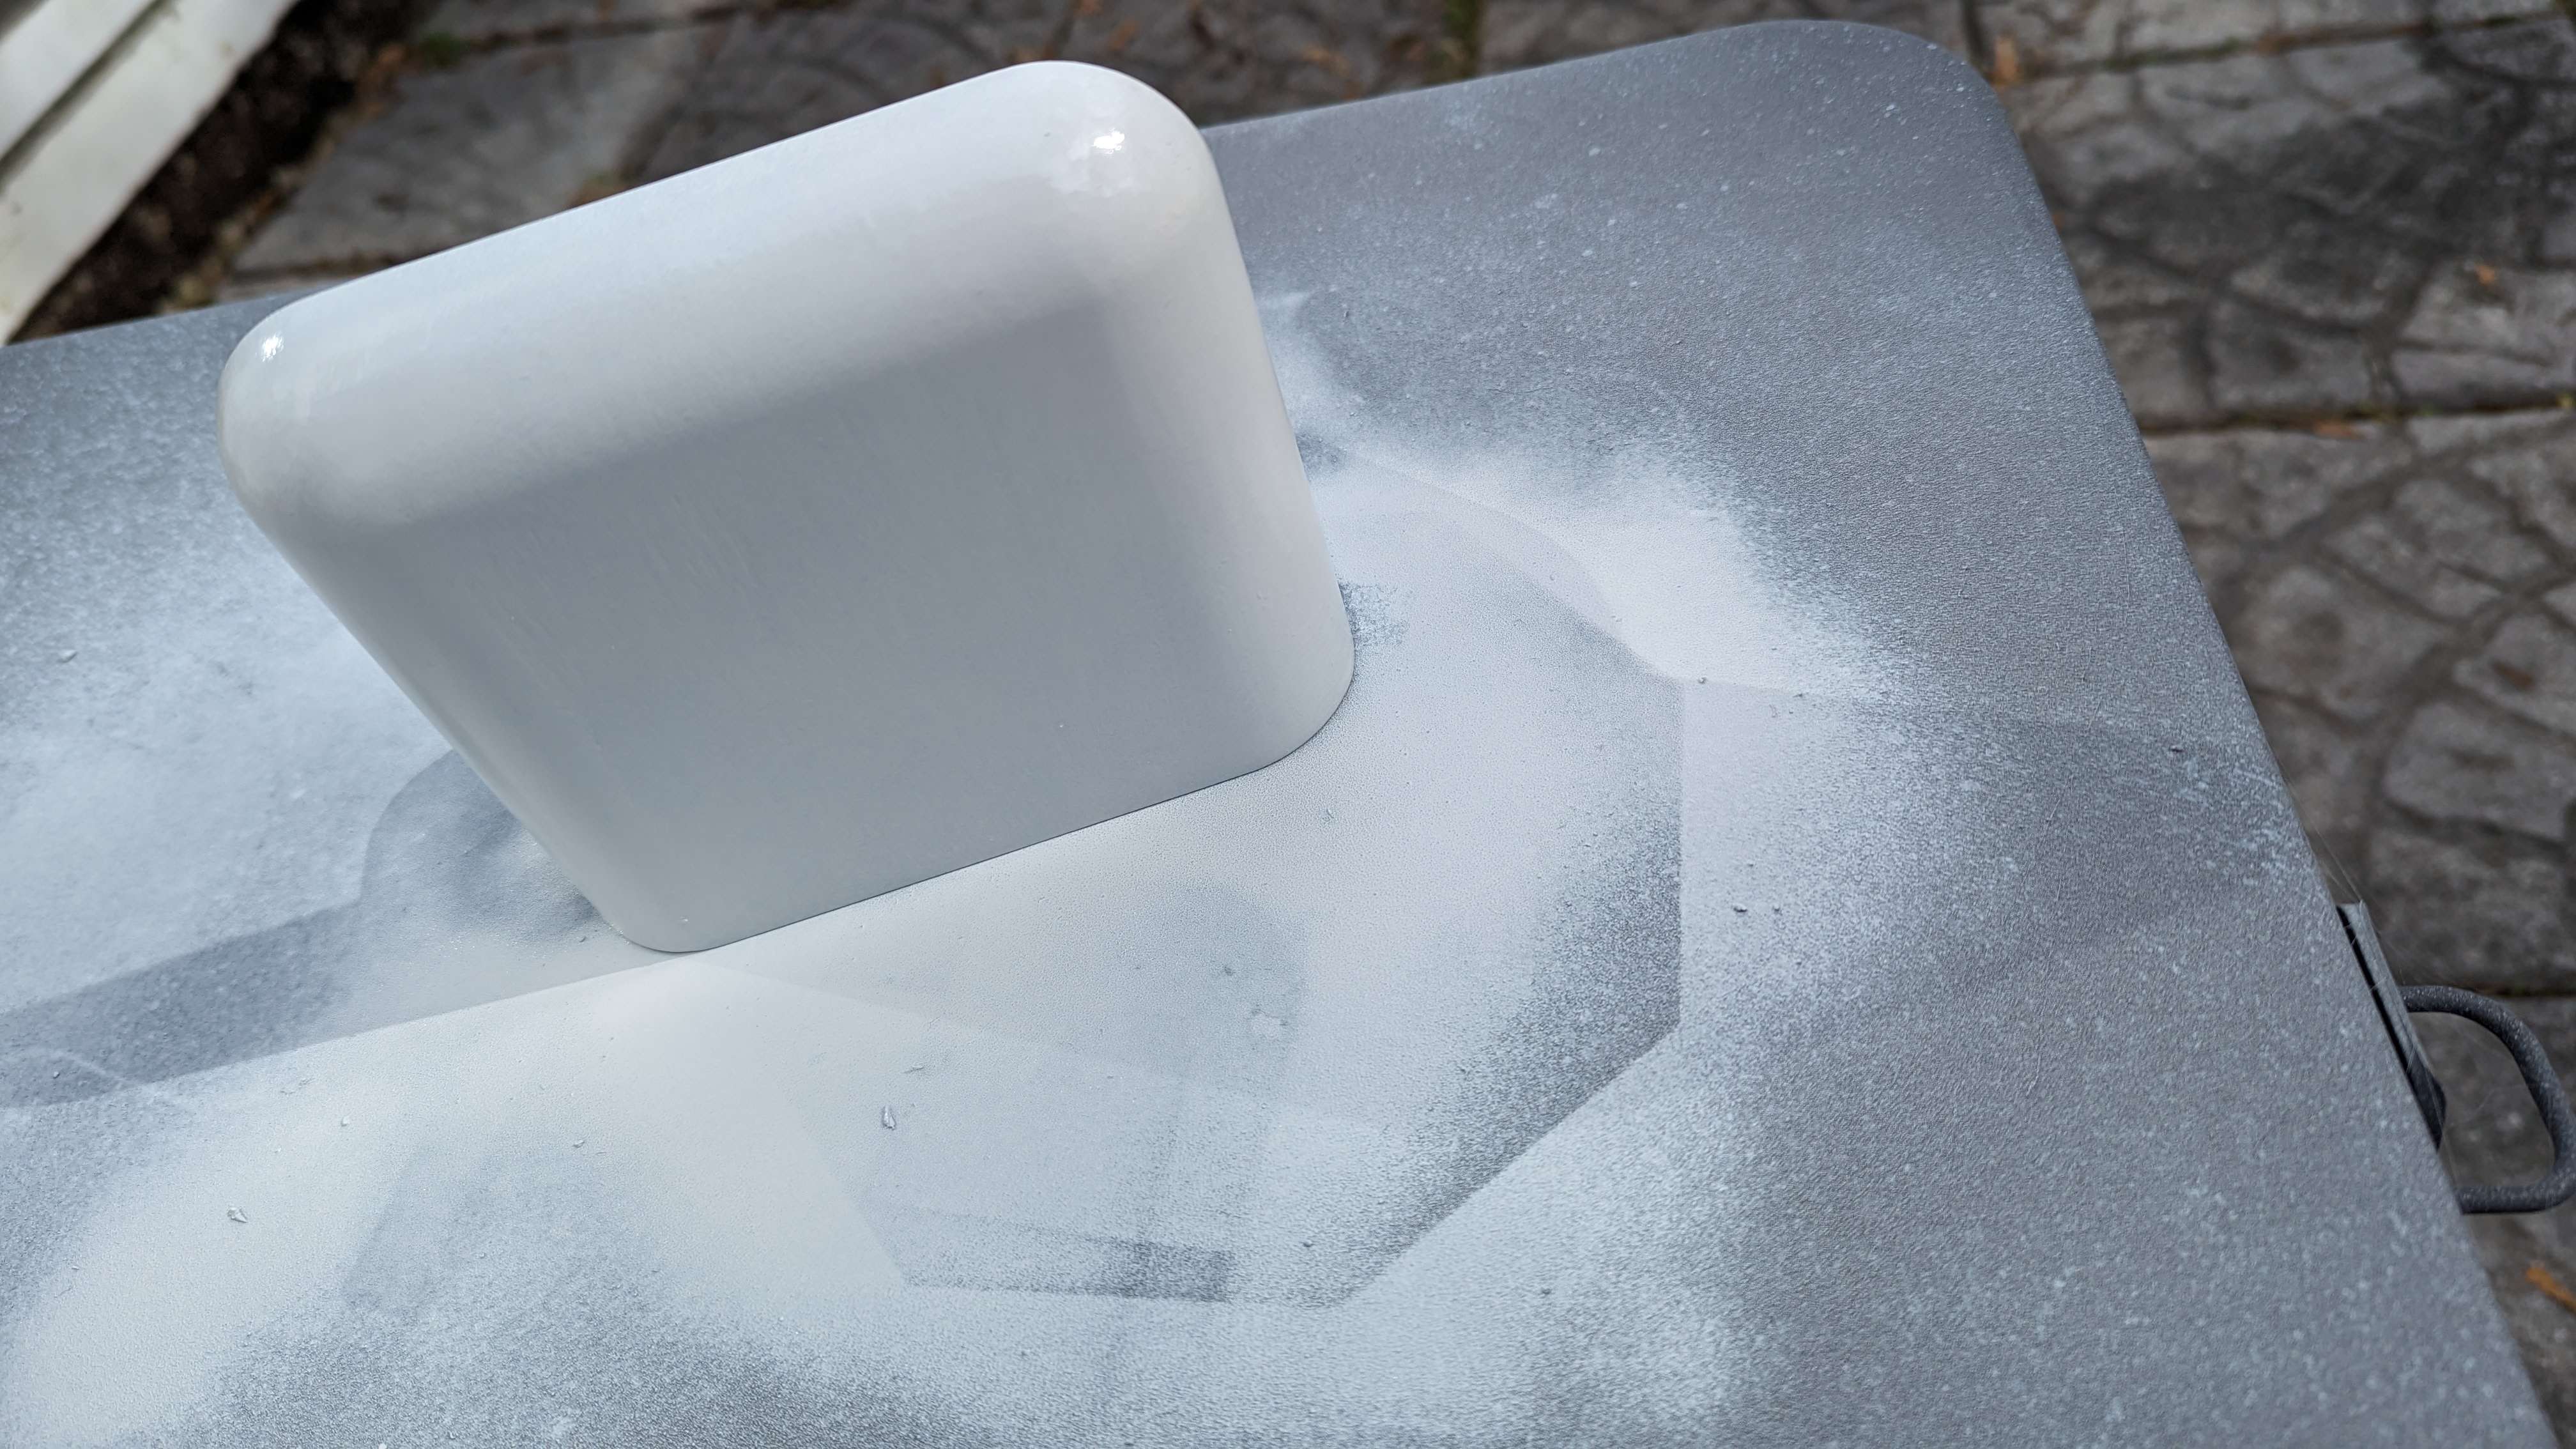
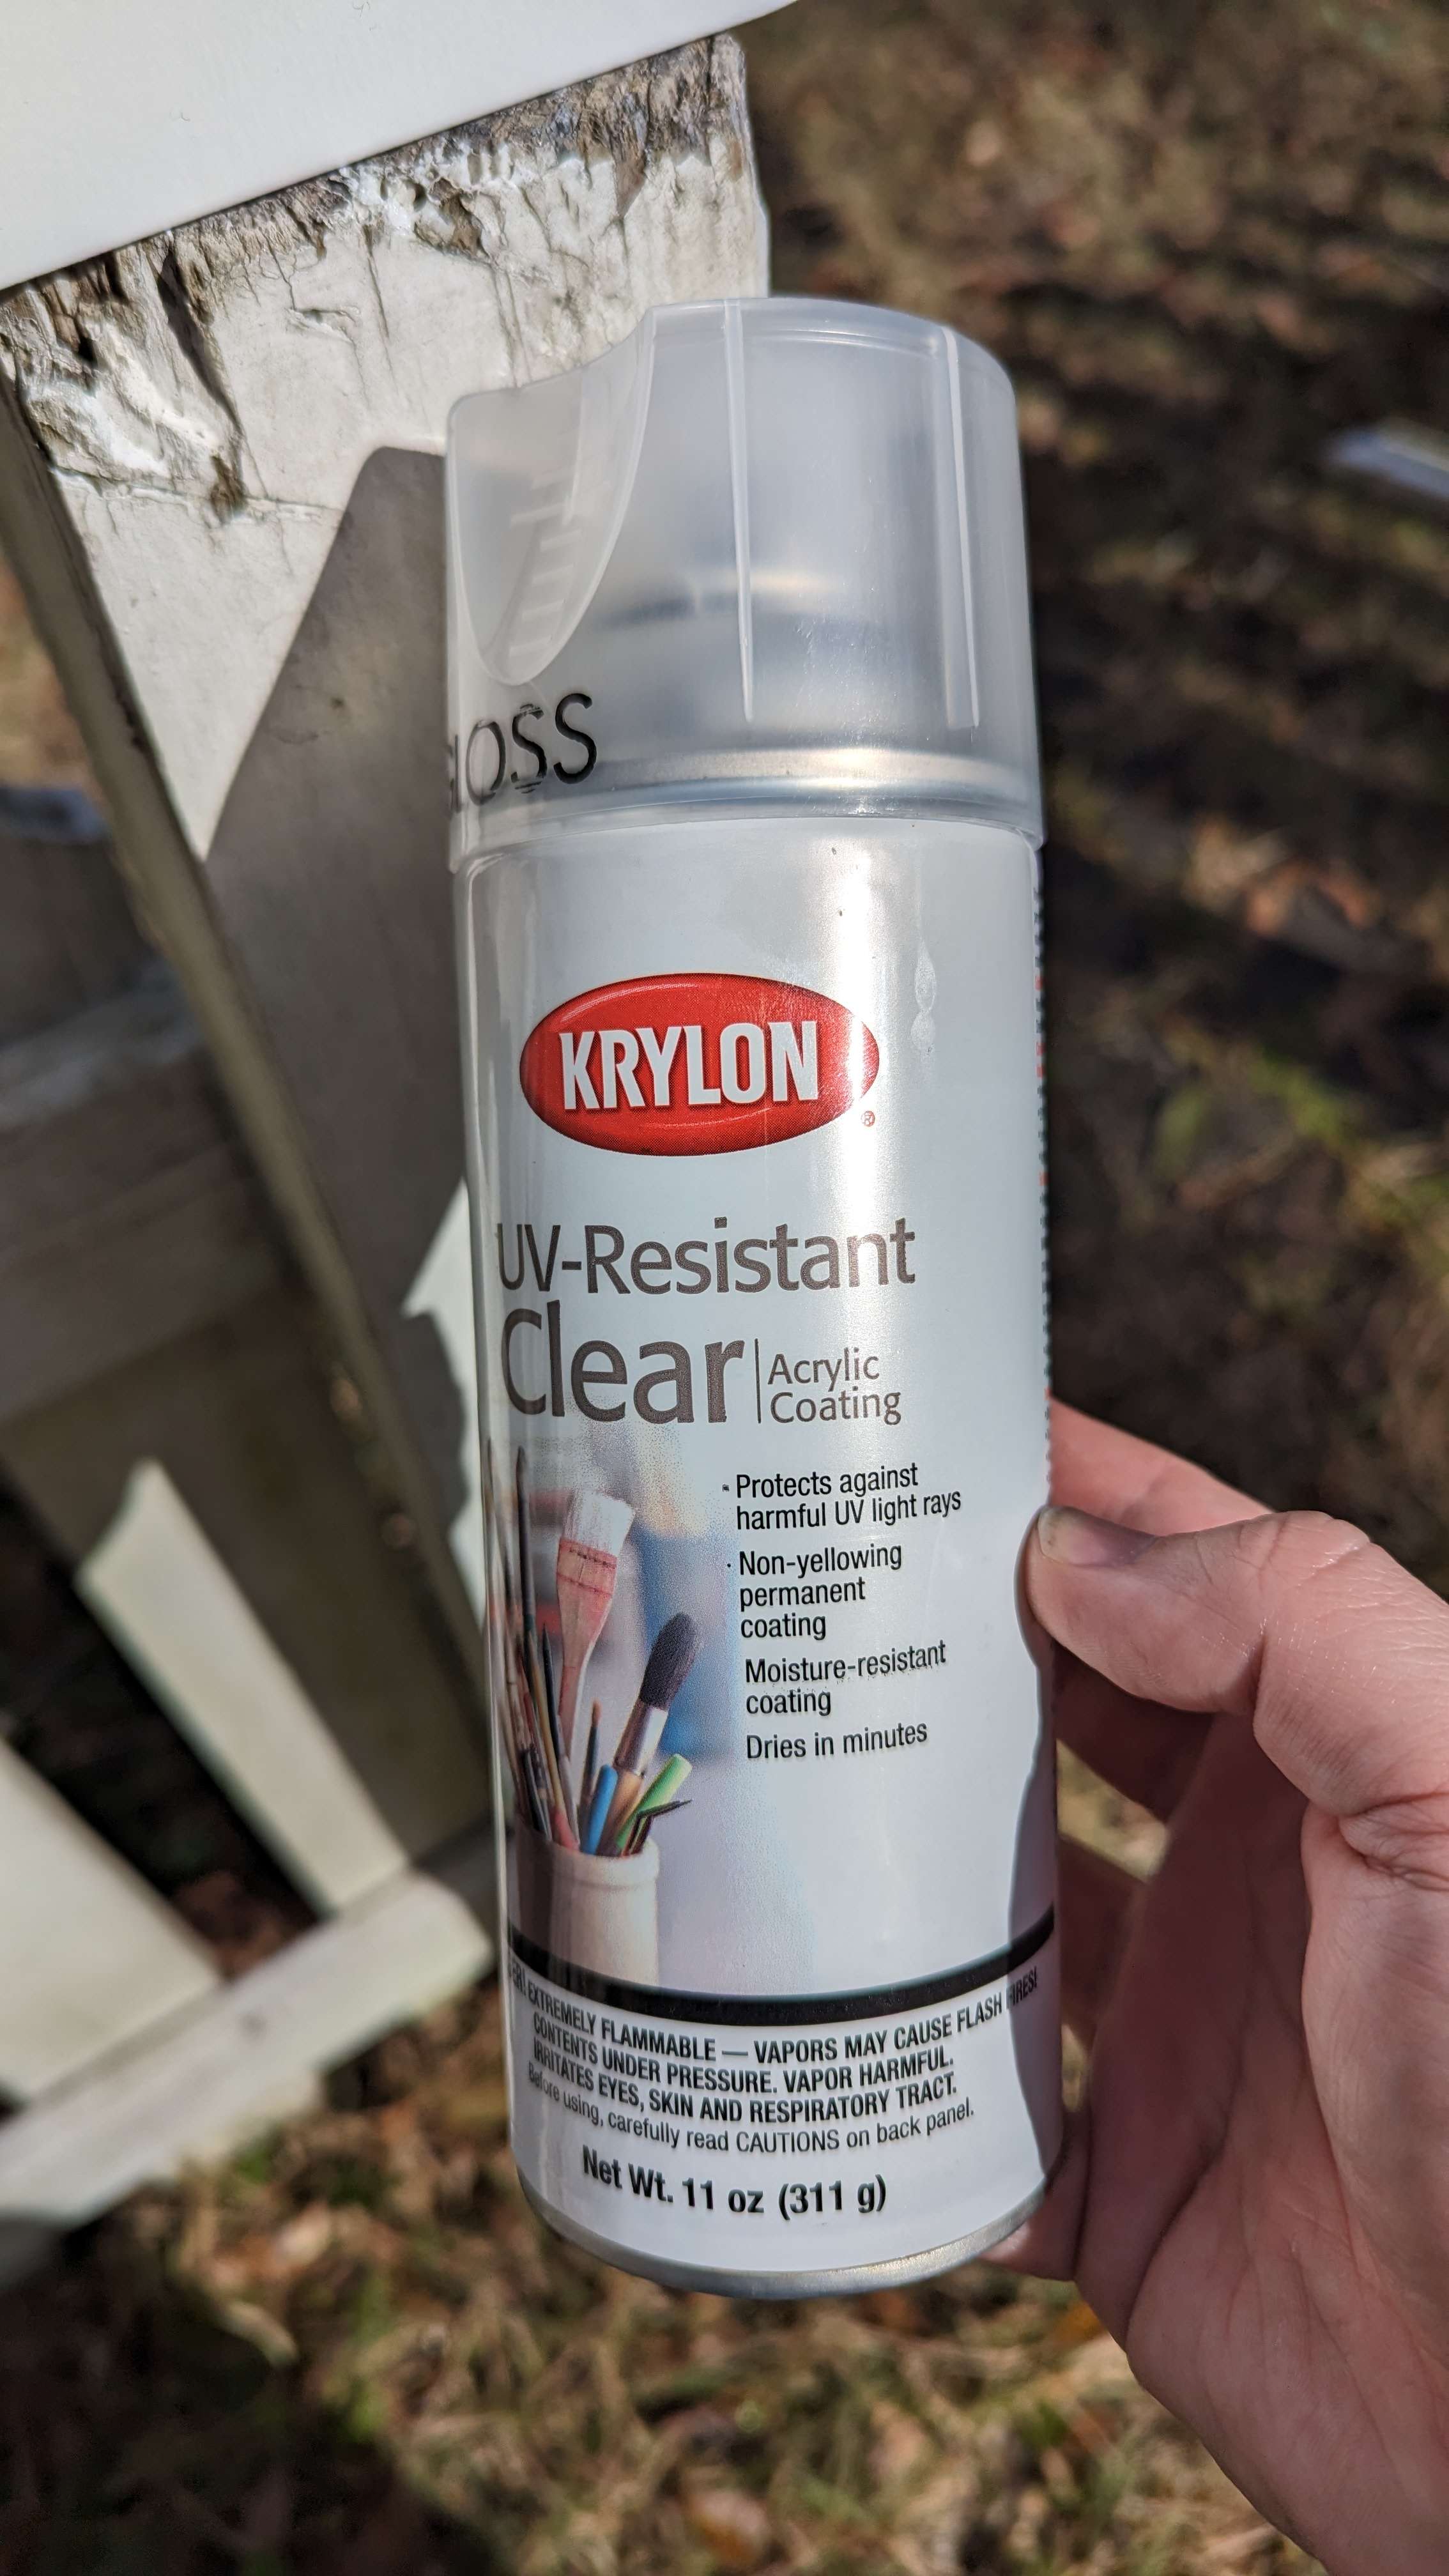
Finally, 3 coats of UV-blocking glossy clearcoat were applied for maximum protection:

Conclusion
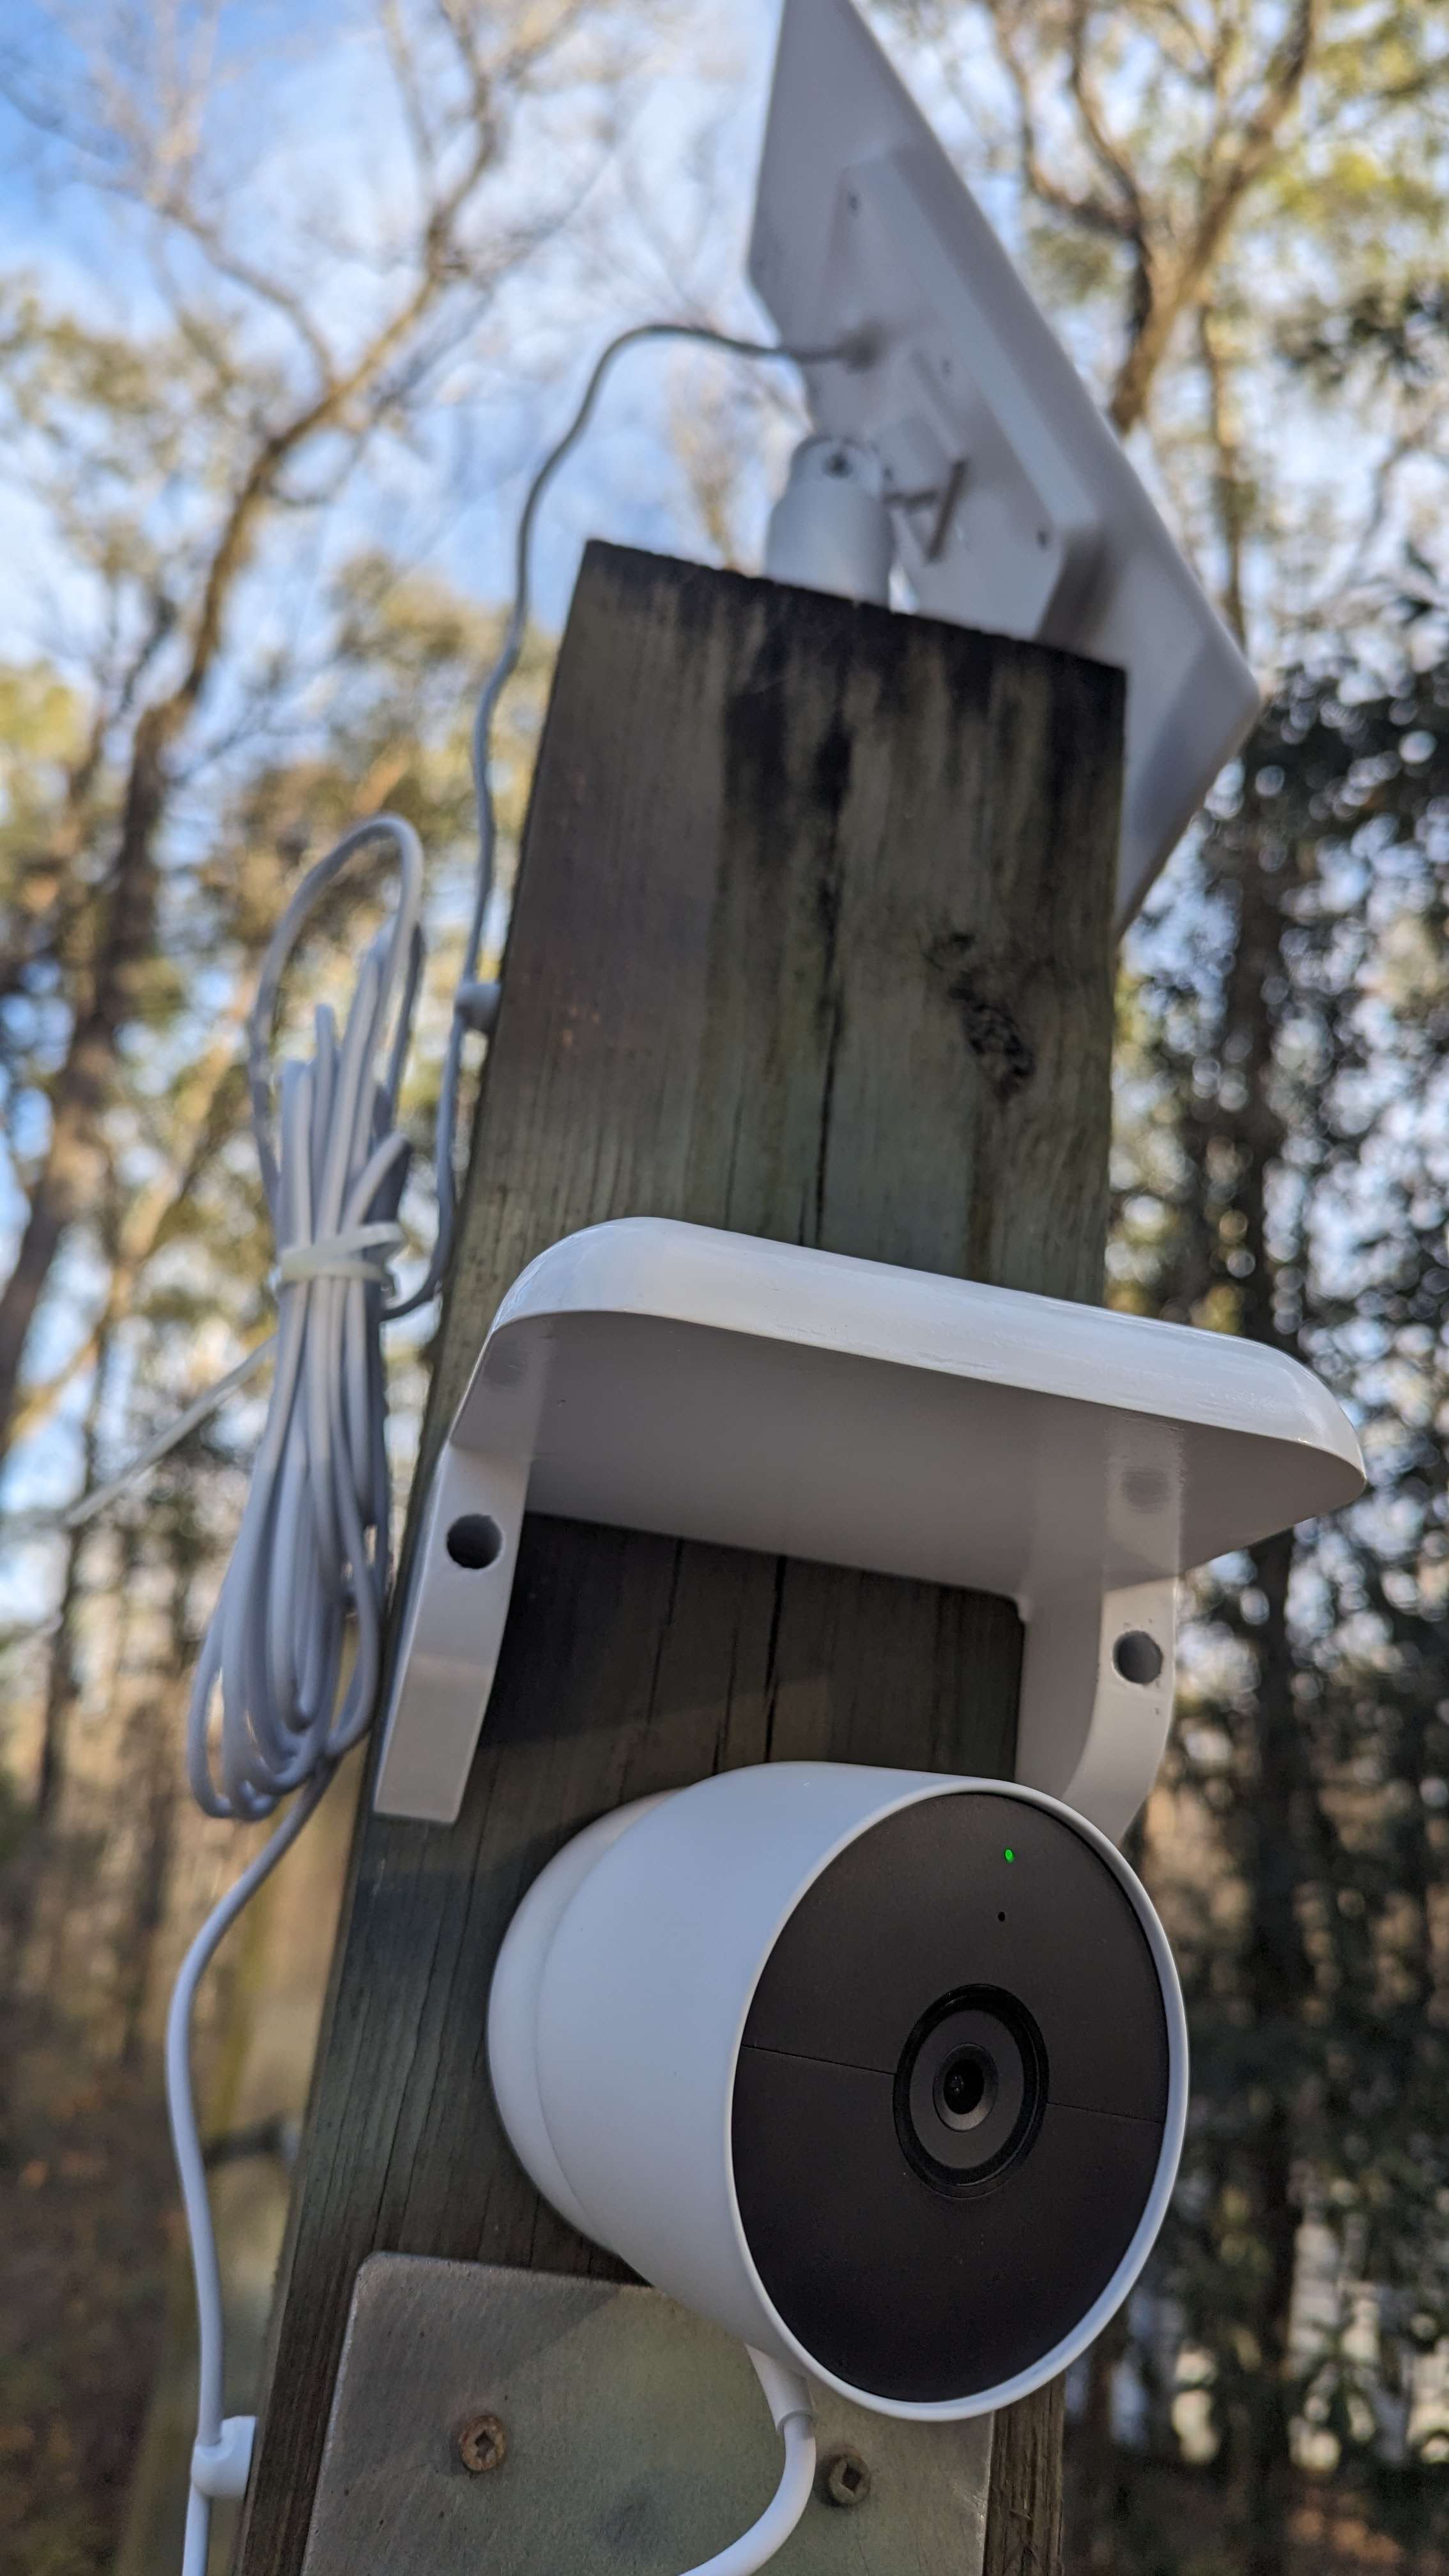
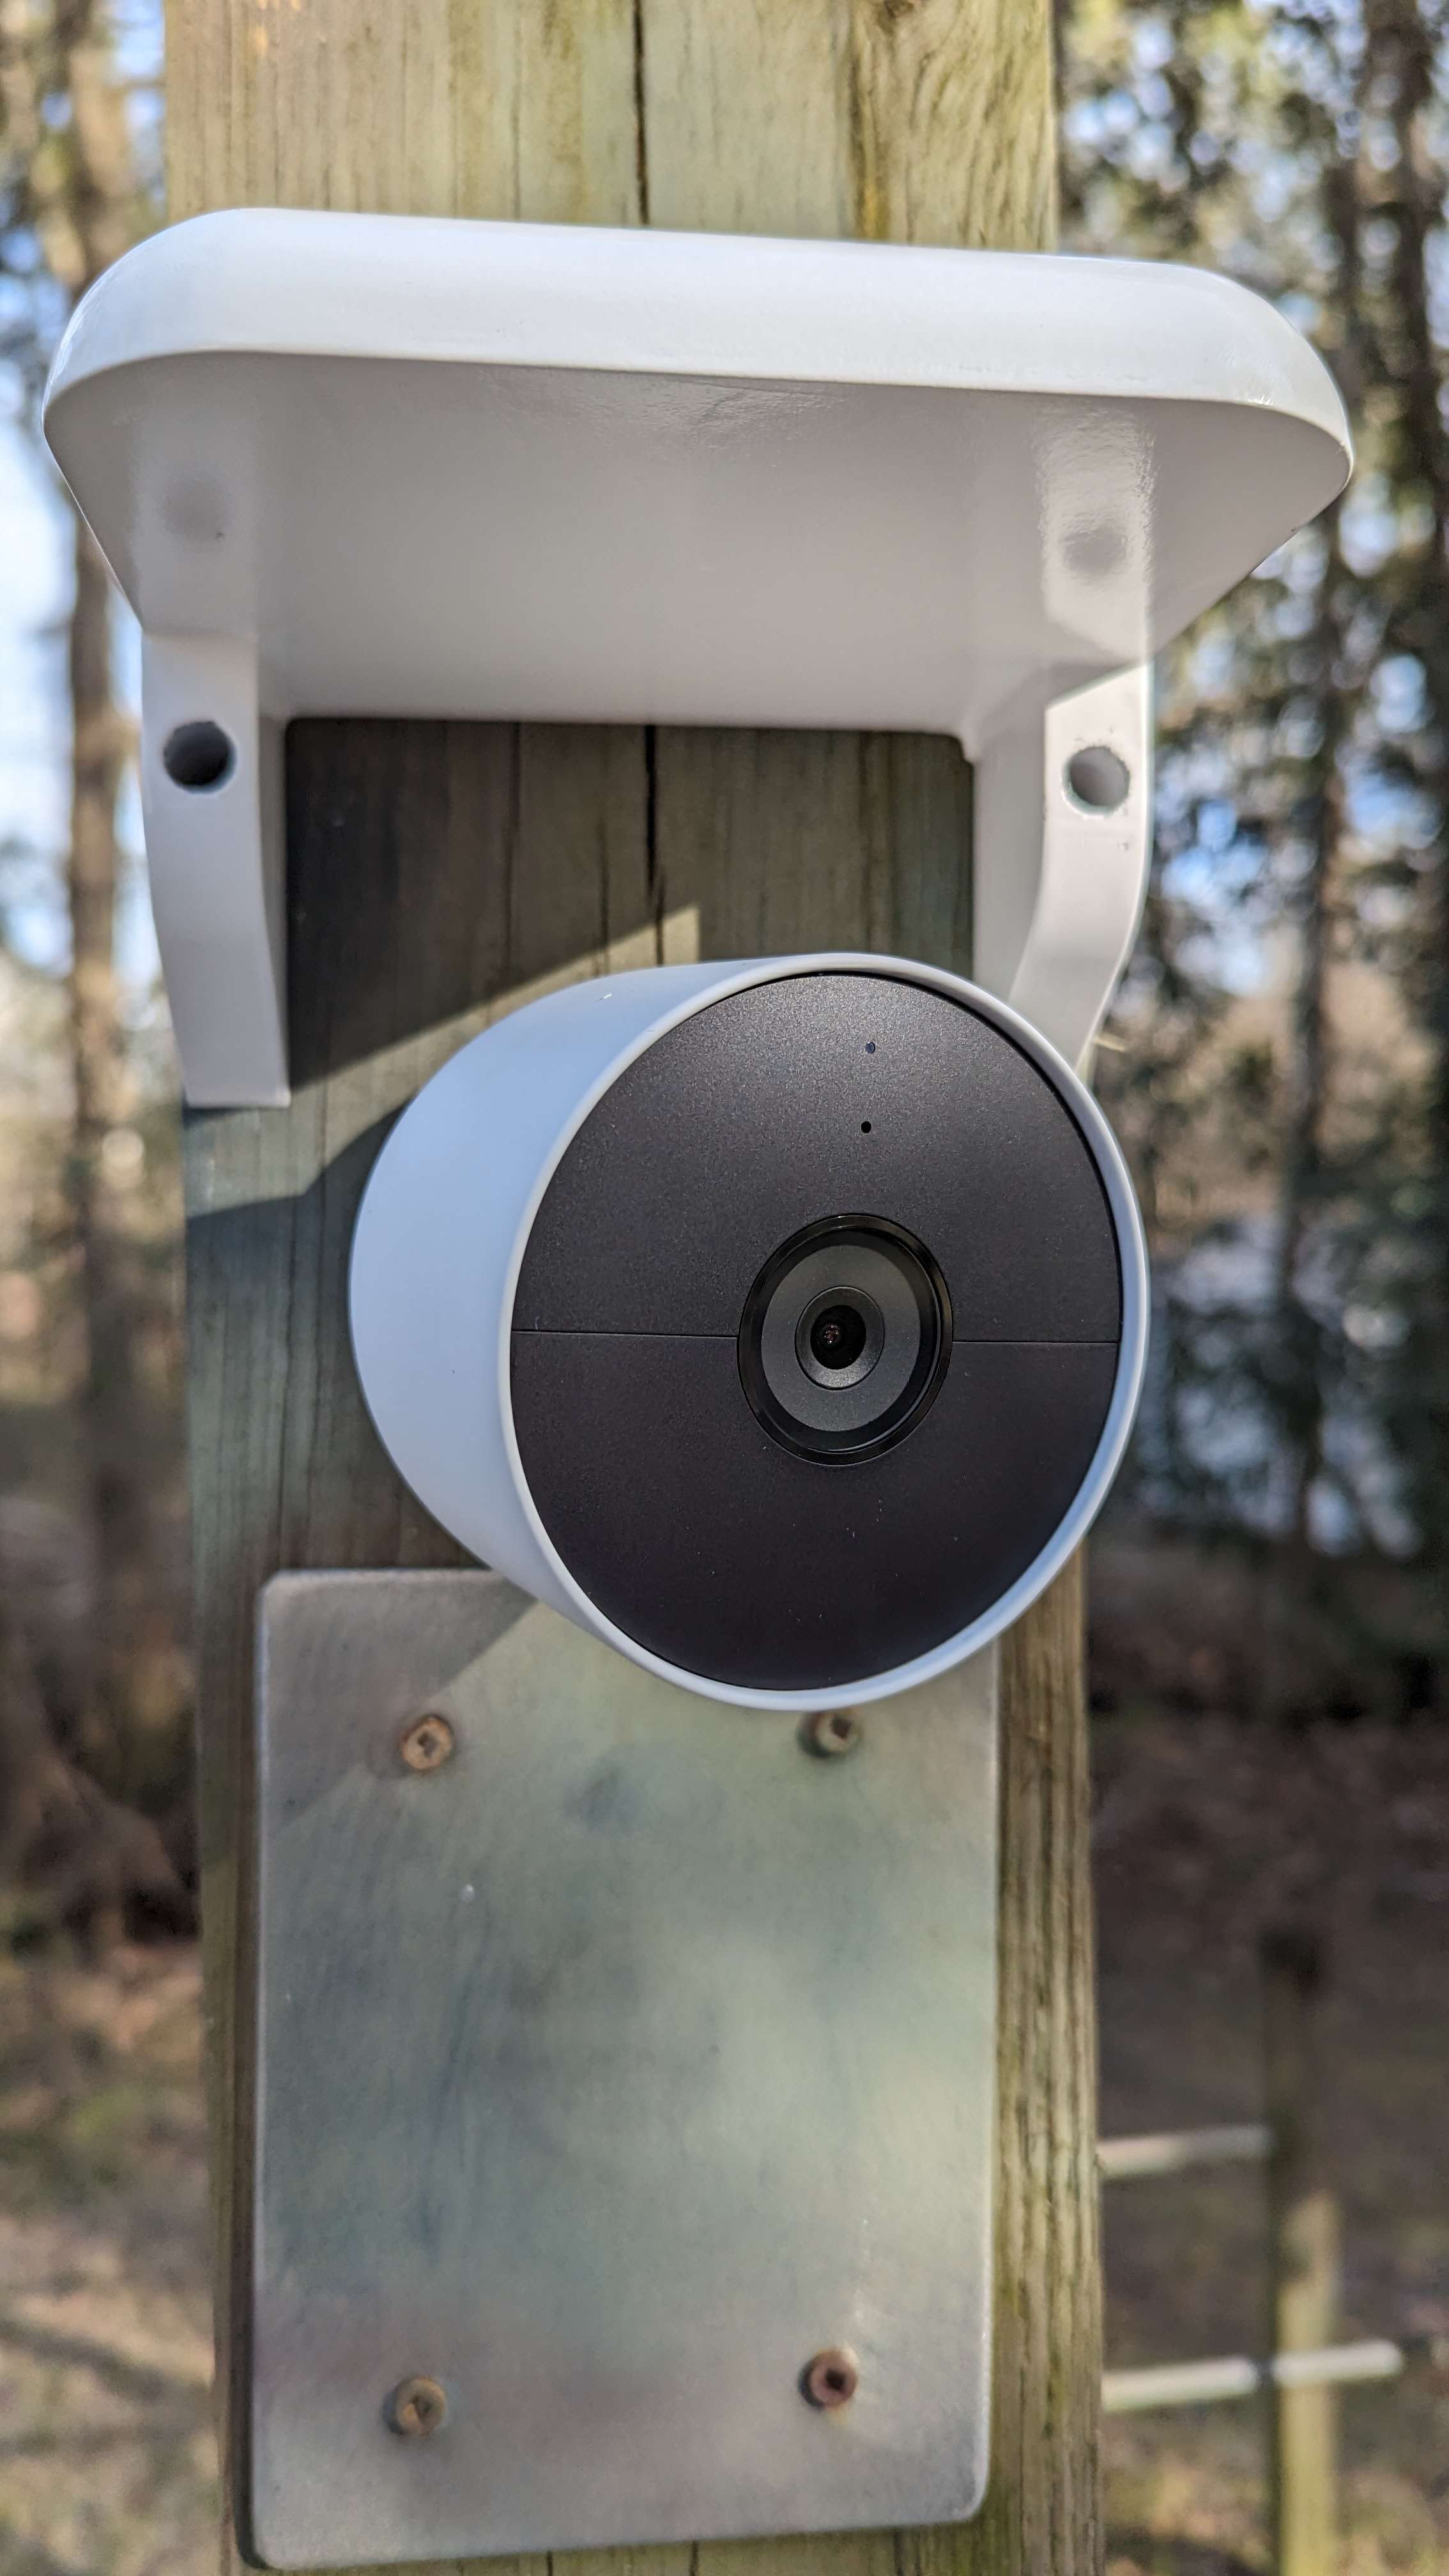
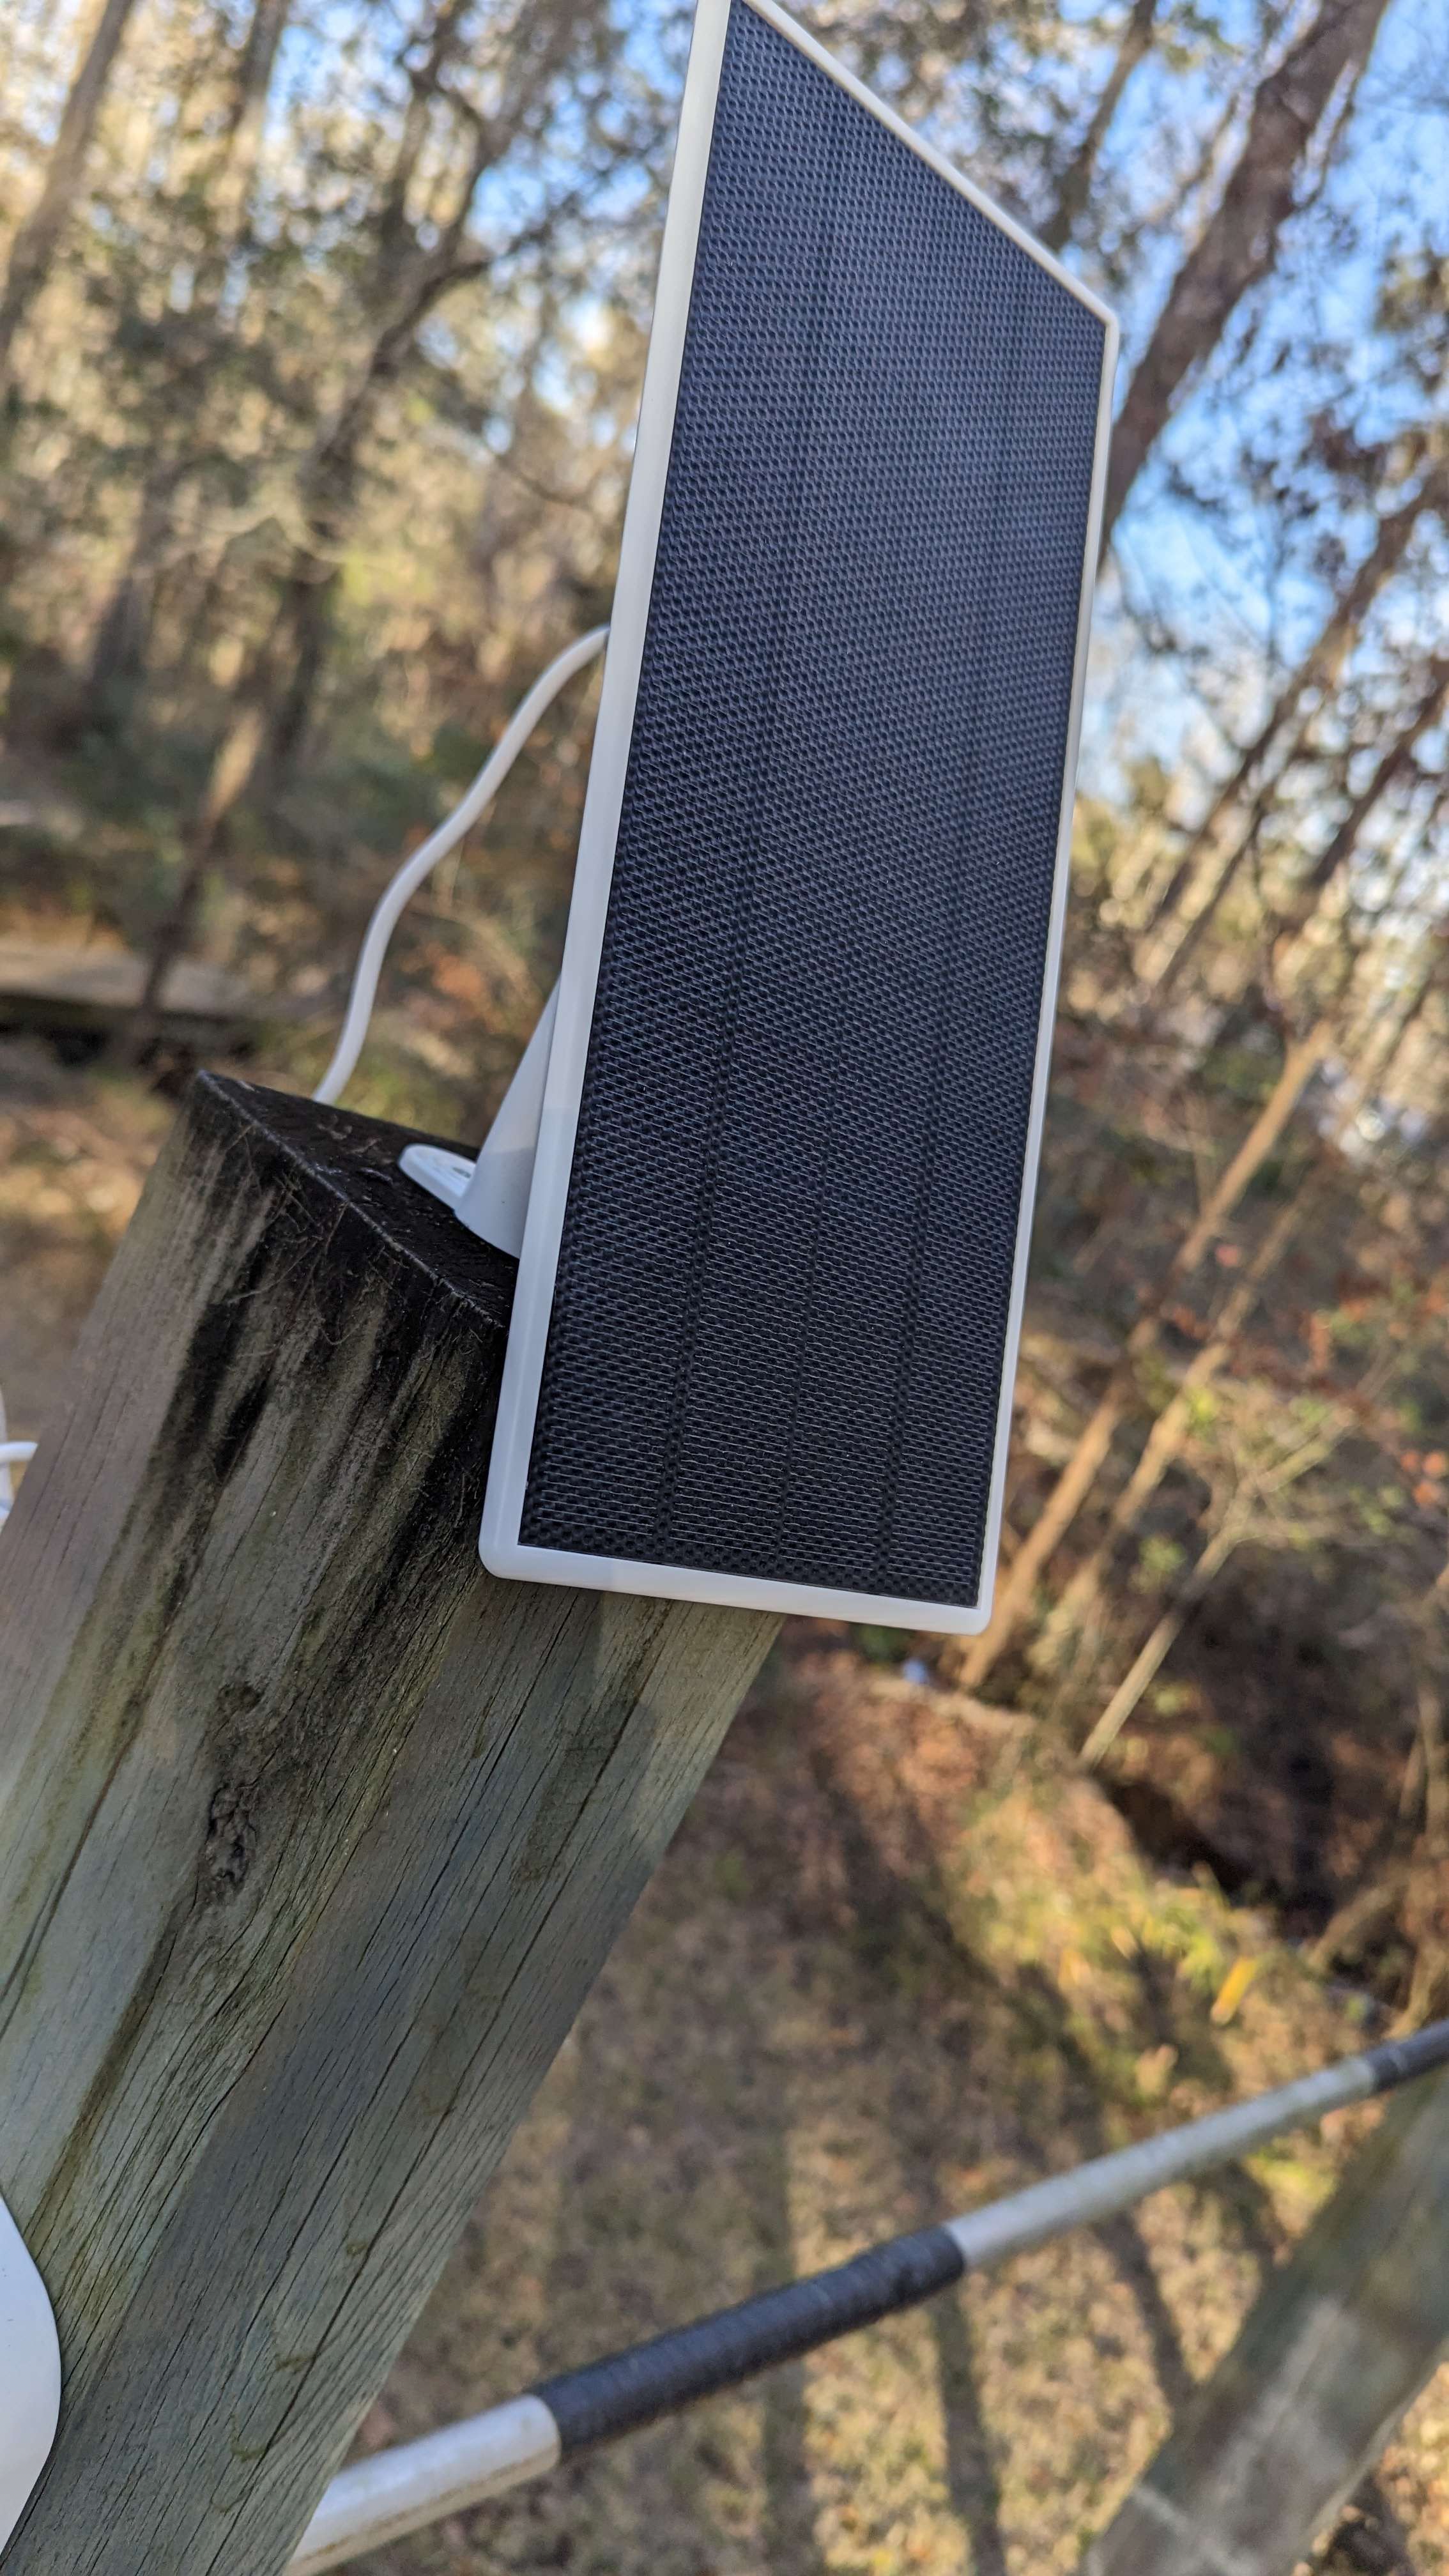
After being allowed to dry for the day in the sun, it was time to mount everything! First, the camera went up. Then, the hood. Finally, a solar panel to charge the battery during the day.
This was a fun exercise in using CAD, and a very satisfying way of using my Bambu Labs P1S to creatively solve real problems. 3D printing is fun for making models for show and decoration, but the most fun is printing practical things to use around the house to make life a little easier.
I’m in the process of printing the supplies for a Honeycomb Storage Wall that I plan to make use of in several places in my home. That will probably be the subject of my next post, unless something else interesting comes up before that project is finished. Until then, thankies for reading, you make foxy happy~